>>
30-MINUTE MEALS! Get the email series now →


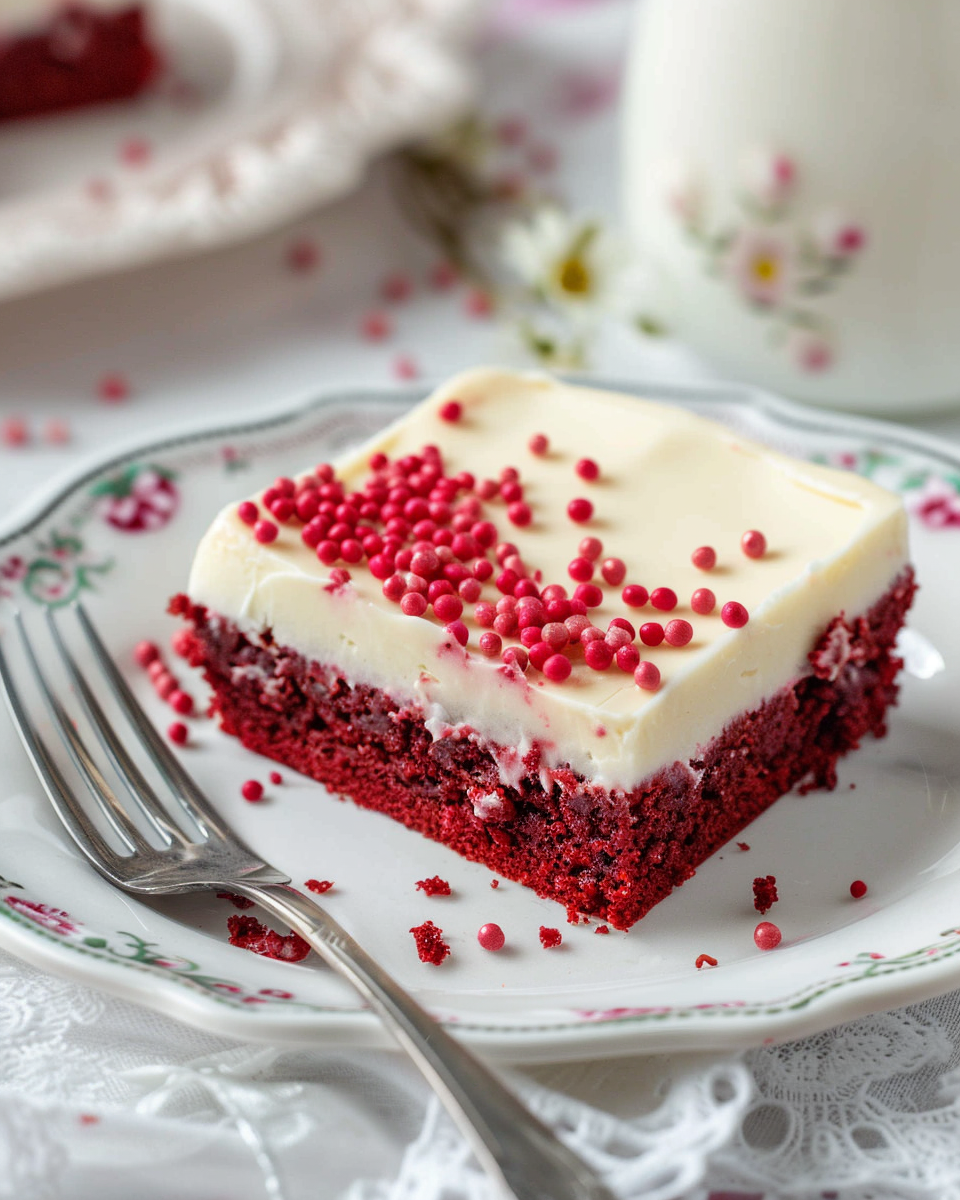
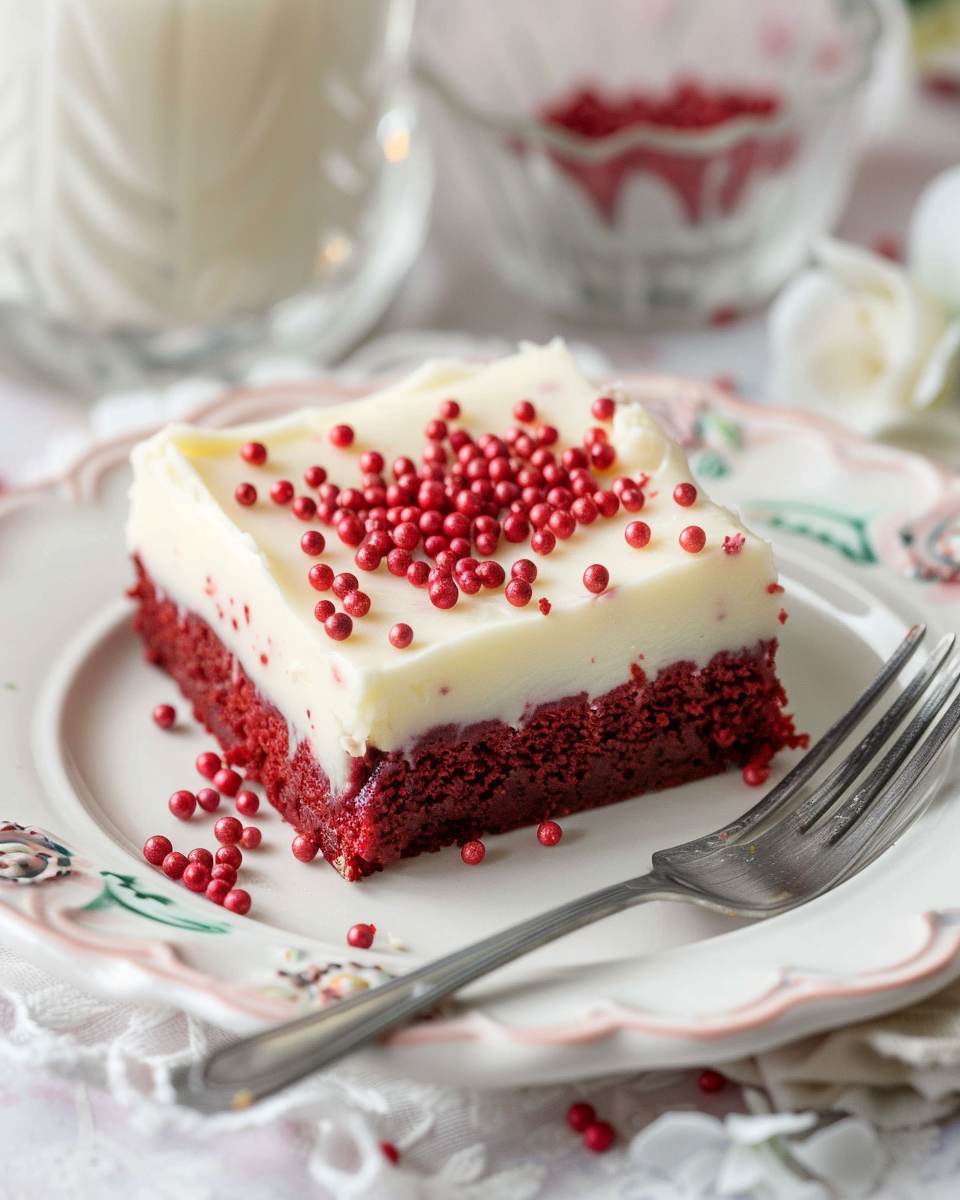
Soft, fudgy red velvet cookie bars topped with tangy cream cheese frosting — a chewy, sliceable treat that’s easy to make and perfect for celebrations.
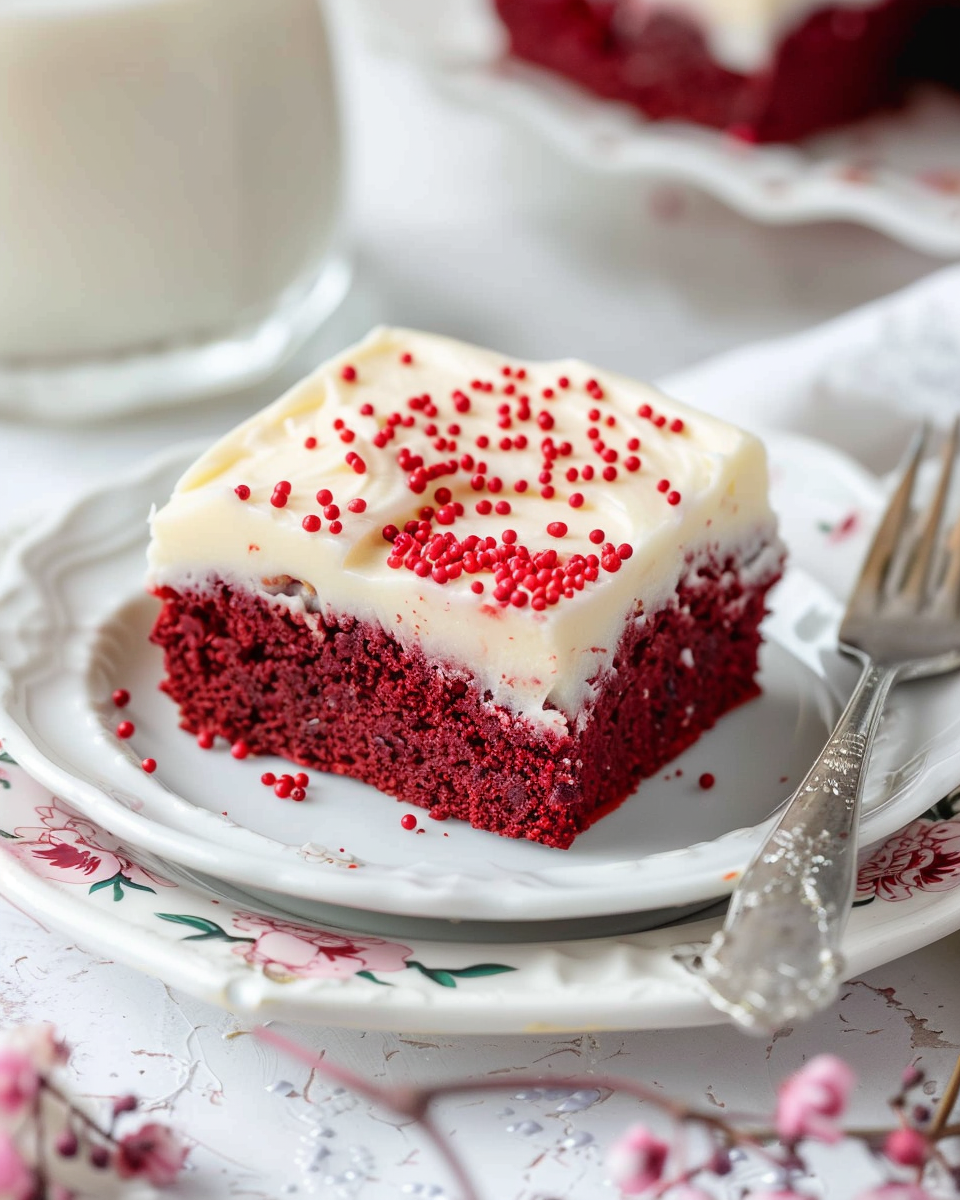
This batch of red velvet cookie bars started as an experiment on a rainy Sunday afternoon when I wanted something more indulgent than a classic brownie but easier than decorating individual cookies. I discovered the balance of a cookie-dough base with the tender crumb of red velvet creates a bar that is chewy yet slightly cakey at the same time — the kind of texture that invites a second bite. The bright red color, cocoa notes, and a glossy cream cheese topping always draw friends to the kitchen. It quickly became my go-to dessert for potlucks and birthdays because it travels well and slices into neat squares that look impressive without fuss.
I first adapted this combination from a favorite red velvet cake recipe, swapping in cookie-style ratios for the base to keep a dense, chewy texture. The extra egg yolk adds richness, while a small splash of vinegar brightens the cocoa and helps the red color pop. I often halve the batch for smaller gatherings and freeze slices for quick treats — a frozen square thawed for 20 minutes is still just as delightful. Family members call these the easiest “fancy” dessert, and I love how the cream cheese frosting adds a tangy counterpoint that keeps the sweetness balanced.
In my kitchen these bars always spark conversation — guests assume they’re from a bakery. When I brought them to a family brunch, my aunt asked for the recipe before dessert plates were cleared. That’s the kind of response that keeps me making this recipe again and again.

My favorite part is how versatile these bars are — they’ve been the surprise hit at holiday cookie swaps and summer picnics alike. Once, I packed them for a road trip and they survived a long day in a cooler with only minor frosting smudges. The balance of cocoa and tangy frosting always gets compliments.
Store frosted bars in a covered container in the refrigerator for up to 3–4 days. Separate layers with parchment or wax paper to prevent sticking. For longer storage, freeze unfrosted bars tightly wrapped in plastic and aluminum foil for up to 3 months; thaw in the refrigerator and frost after thawing for best texture. If you must freeze frosted bars, place on a sheet pan until the frosting firms, then wrap. To reheat a chilled bar, let it sit at room temperature for 20–30 minutes or microwave a single piece for 8–10 seconds to soften slightly without melting the frosting.
If you don’t have brick-style cream cheese, drain a softer spread in a fine sieve over a bowl for 30 minutes to remove excess moisture, though texture may be softer. Swap brown sugar for an equal amount of coconut sugar for a caramel note — color will be darker and flavor slightly different. For a dairy-free option, use vegan butter and dairy-free cream cheese alternatives, but expect a change in texture and a slightly less tangy frosting. To reduce food coloring, increase cocoa by 1 teaspoon and add a touch of beet powder for natural pigment.
Serve bars at room temperature for the best flavor. Garnish with a light dusting of cocoa, white chocolate shavings, or a few festive sprinkles for celebrations. Pair with strong coffee or a milk-based latte to complement the creamy frosting. For a dessert platter, alternate these squares with plain chocolate brownies and fruit tarts to offer contrast in texture and flavor.
Red velvet evolved in American baking during the early 20th century, gaining popularity through Southern cooks and classic hotels like the Waldorf-Astoria. Traditionally a cake, it’s defined by the interplay of cocoa, buttermilk or acidic components, and distinctive red coloring. Transforming that flavor profile into a cookie-bar keeps the nostalgic taste but simplifies preparation — no layer cakes or complicated assembly, just the essence of red velvet in a handheld form.
For winter holidays, add a teaspoon of cinnamon and top with crushed peppermint for a festive twist. In summer, fold in 1/2 cup white chocolate chips or chopped strawberries for a lighter, fruit-forward version. For Valentine’s Day, pipe frosting decoratively and finish with freeze-dried raspberry powder. Small tweaks make these bars appropriate year-round while keeping the core texture intact.
Make the base a day ahead and refrigerate in the pan covered tightly; bring to room temperature before frosting. Frosted bars hold well in meal-prep containers lined with parchment for grab-and-go breakfasts or coffee breaks. Slice into uniform 2-inch squares for portion control; a sharp chef’s knife warmed under hot water and wiped dry gives the cleanest cuts.
These red velvet cookie bars are a simple way to bring a bakery-style treat to your kitchen with minimal fuss. They reward small technical touches — accurate measuring, proper butter temperature, and a cool set before slicing — with outstanding results that feel special every time.
Measure flour with the spoon-and-level method to avoid overpacking, which can make the bars dry.
Allow the bars to cool completely before frosting to prevent the frosting from sliding or melting.
Use brick-style full-fat cream cheese for a stable, tangy frosting that spreads smoothly.
If you want extra chew, remove the bars from the oven when a toothpick shows moist crumbs and then cool in the pan.
This nourishing red velvet cookie bars recipe is sure to be a staple in your kitchen. Enjoy every moist, high protein slice — it is perfect for breakfast or as a wholesome snack any time.
This Red Velvet Cookie Bars recipe makes perfectly juicy, tender, and flavorful steak every time! Serve with potatoes and a side salad for an unforgettable dinner in under 30 minutes.
Preheat oven to 350°F (180°C). Lightly grease a 9x13-inch pan or line it with parchment paper leaving an overhang for easy removal.
In a medium bowl, whisk together 2 1/4 cups flour, 3 tablespoons cocoa, 1/2 teaspoon baking powder, 1/2 teaspoon baking soda, and 1/4 teaspoon salt until uniform.
Beat 1 cup softened unsalted butter with 3/4 cup granulated sugar and 1/2 cup brown sugar until light and slightly fluffy, about 2–3 minutes on medium speed.
Beat in 1 large egg, 1 yolk, 2 teaspoons vanilla, 1 tablespoon red food coloring, and 1/2 teaspoon vinegar until the mixture is smooth and no lumps of butter remain.
Add the dry ingredients to the butter mixture on low speed or fold in with a spatula until no streaks of flour remain, taking care not to overmix.
Spoon the dough into the prepared pan and press into an even layer. Bake in the center of the oven for 25–30 minutes until the top is set and edges pull away. A toothpick should reveal moist crumbs.
Allow the bars to cool fully in the pan, at least 1 hour, before frosting to prevent melting or sliding of the frosting.
Beat 1/2 cup butter with 8 ounces cream cheese until smooth. Gradually add 2 1/2–3 1/2 cups powdered sugar and 1/4 teaspoon salt; thin with 1–2 tablespoons cream if needed. Spread over cooled bars and chill briefly to set before slicing into approximately 12 squares.
Last Step: Please leave a rating and comment letting us know how you liked this recipe! This helps our business to thrive and continue providing free, high-quality recipes for you.
Leave a comment & rating below or tag
@feedcooks on social media!

Turn classic crispy treats into creepily realistic Halloween brains—soft, glossy marshmallow centers bound to Rice Krispies, shaped and painted for maximum spooky impact.

A cozy, slow-cooked blend of tender chicken, crushed tomatoes, cream, and Parmesan—this Crock Pot creamy chicken parmesan soup is weeknight comfort made effortless.

Delicate baked cod fillets finished in a bright, silky coconut-lemon cream—an easy weeknight centerpiece that feels special enough for guests.
Leave a comment & rating below or tag @feedcooks on social media!
Enjoyed this recipe? Share it with friends and family, and don't forget to leave a review!
This recipe looks amazing! Can't wait to try it.
Comments are stored locally in your browser. Server comments are displayed alongside your local comments.

Join to receive our email series which contains a round-up of some of our quick and easy family favorite recipes.
