>>
30-MINUTE MEALS! Get the email series now →


Light, tender pink velvet layers finished with silky vanilla cream cheese frosting and festive sprinkles — a joyful cake for celebrations and cozy gatherings.
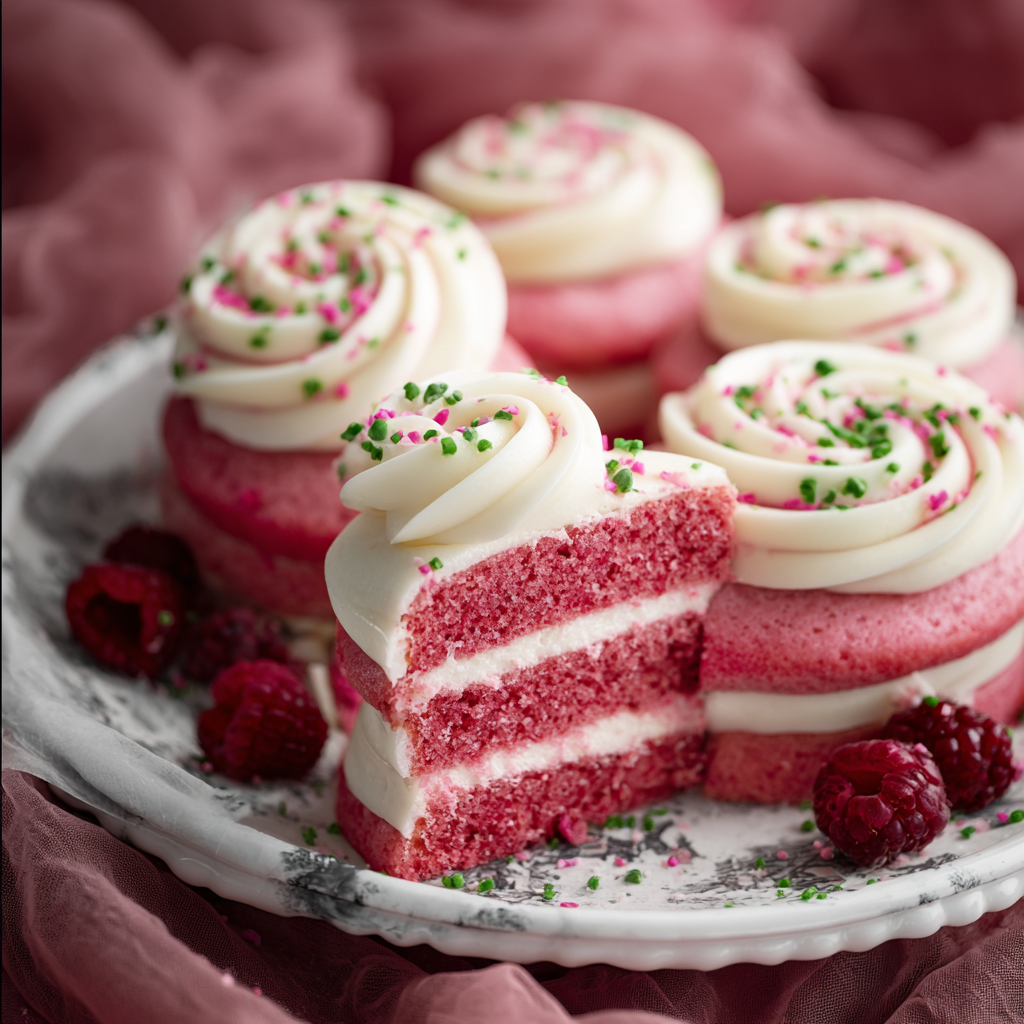
This pink velvet cake has been a holiday favorite in my kitchen for years. I first developed this version one December when I wanted a brighter alternative to the traditional red velvet — something that felt celebratory and still had that tender crumb and subtle vanilla tang. The batter is silky, tender, and the pale pink color makes it feel playful without being overly sweet. I remember my niece’s eyes lighting up the first time she saw the stacked layers trimmed with soft cream cheese frosting and a scattering of Christmas sprinkles. It felt like the cake itself was a present.
What makes this cake special is the balance: the cake is enriched with butter and eggs for a moist, velvet crumb, while the cake batter flavoring and a touch of vanilla lend a rounded aroma. The frosting is a classic vanilla cream cheese blend that isn’t too sweet — just enough to complement the cake without overpowering it. I’ll share not only the how-to for the layers and frosting, but also practical tips for baking even layers, coloring without staining napkins, and make-ahead tricks that save the day during busy holiday cooking.
My family always asks for this one at holiday gatherings. The first time I served it at a small Christmas brunch, everyone took a second slice before I could finish arranging the platter. It’s the kind of cake that arrives looking impressive but is genuinely uncomplicated to make.
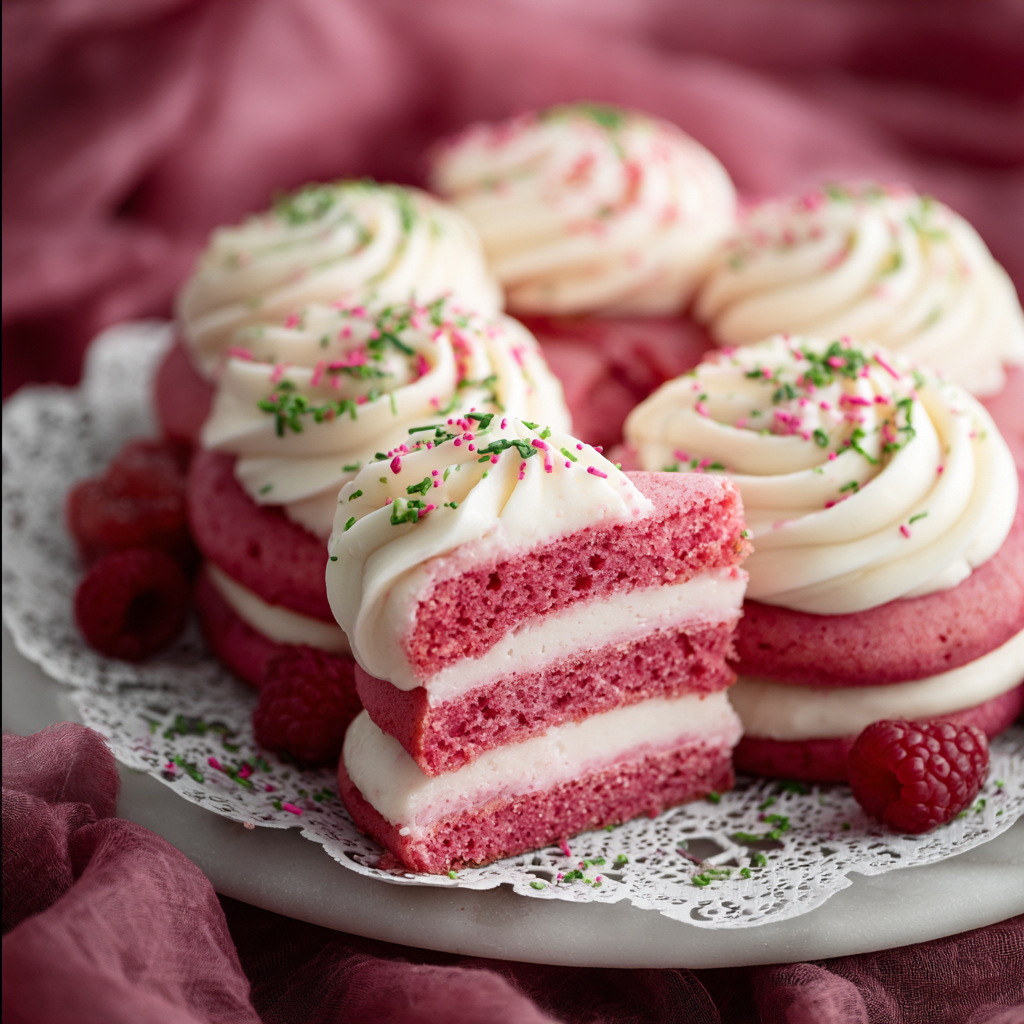
My favorite thing about this cake is how versatile it feels: I’ve swapped sprinkles for fresh berries in summer and added a thin jam layer for a fruity contrast. Family members often ask for this on birthdays because it reads as festive but still tastes classic.
Store the finished cake in a cake carrier or covered with an overturned bowl at room temperature for up to 24 hours. For longer storage, refrigerate in an airtight container for up to 4 days — let it sit at room temperature 30–60 minutes before serving so the frosting softens. To freeze layers, wrap each cooled layer tightly in plastic wrap and then foil; freeze for up to 3 months. Thaw in the fridge overnight, then bring to room temperature before frosting.
If you don’t have cake batter flavoring, use an extra teaspoon of pure vanilla extract. For a slightly tangier cake, replace 1/2 cup milk with buttermilk and reduce the milk added in the batter. Use unsalted butter and add 1/4 teaspoon salt if you prefer control over saltiness. For a dairy-free or vegan version, consult plant-based butter and cream cheese substitutes and an egg replacer, though texture will differ from the classic.
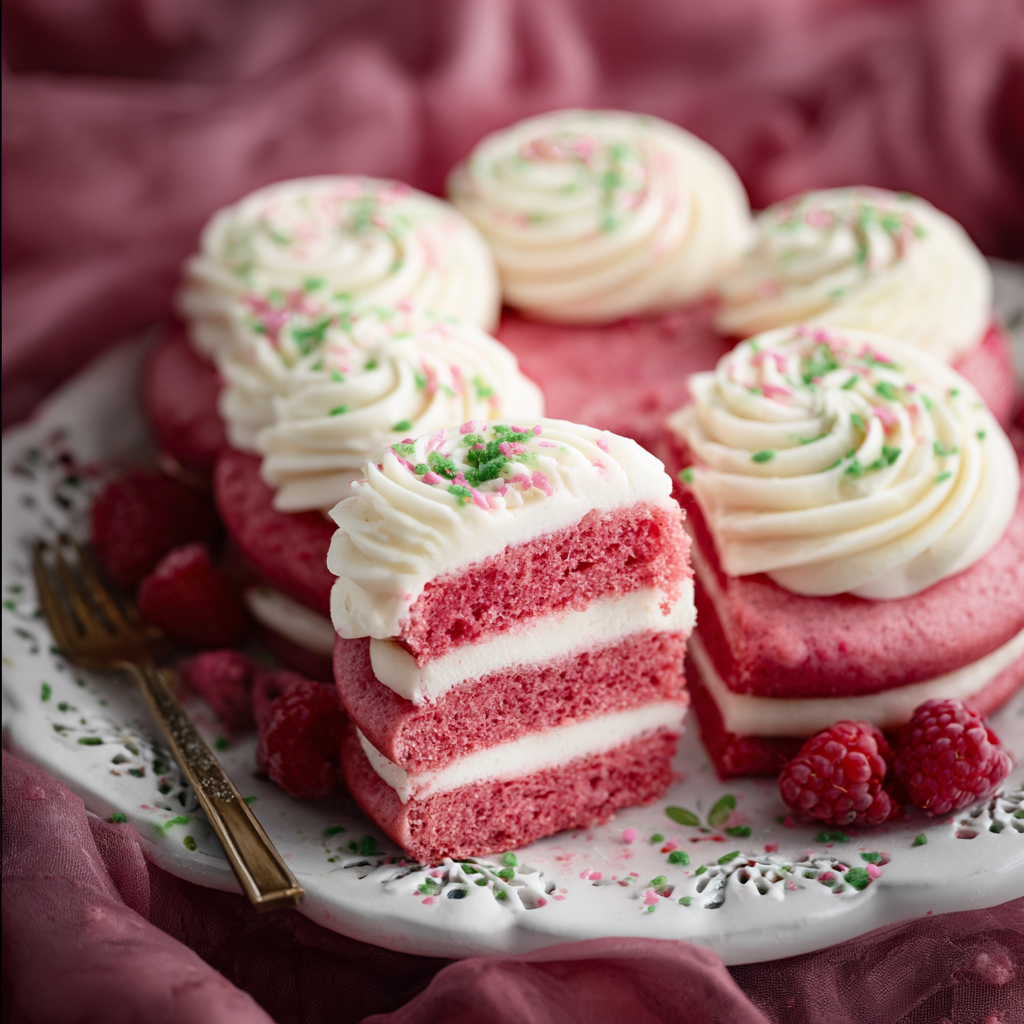
Serve thin slices with lightly whipped cream or a dusting of powdered sugar for a brunch setting. For a party, add a few fresh raspberries or edible flowers on top of the frosting for an elegant look. Pair with coffee or a mild black tea — the cake’s sweetness pairs well with a slightly bitter brew to balance the palate.
Velvet cakes have American roots, evolving from the 19th-century desire for softer-textured cakes. Red velvet became popular for its dramatic color, often associated with Southern baking traditions. The pink velvet variation offers a playful twist, keeping the soft crumb but using pink hues to suit specific holidays or celebrations. It’s less about regional identity and more about celebrating with color.
In winter, finish the cake with peppermint sprinkles or swap in a thin cranberry jam layer for a festive note. In summer, skip sprinkles and top with macerated berries and a light lemon zest in the frosting for brightness. Adjust the decorating elements to match seasonal palettes — pastel sprinkles for spring, jewel tones for fall.
To prepare ahead, bake and wrap the layers up to a month in advance and keep them frozen. Make the frosting a day ahead and keep chilled; beat lightly before using if it firms up. Portion slices into single-serve containers for grab-and-go treats, and refresh frosting with a small dab of cream if it seems dry after refrigeration.
I hope this guide gives you confidence to bake a beautiful pink velvet cake that tastes as good as it looks. It’s one of those recipes that’s forgiving, festive, and reliably enjoyed by both kids and adults — perfect for bringing people together around a slice.
Use room-temperature eggs and cream cheese for smoother incorporation and fewer lumps in the batter and frosting.
Chill the frosted cake briefly after a crumb coat to make the final smoothing much easier.
Measure flour by spooning into the cup and leveling rather than scooping to avoid a dense crumb.
Use gel food coloring to achieve vivid pink without adding extra liquid to the batter.
This nourishing pink velvet cakes recipe is sure to be a staple in your kitchen. Enjoy every moist, high protein slice — it is perfect for breakfast or as a wholesome snack any time.
This Pink Velvet Cakes recipe makes perfectly juicy, tender, and flavorful steak every time! Serve with potatoes and a side salad for an unforgettable dinner in under 30 minutes.
Preheat oven to 350°F. Grease two 8-inch round pans, line with parchment, and lightly flour the sides or spray with nonstick spray.
Beat 1 1/2 cups softened butter with 1 1/2 cups granulated sugar until pale and fluffy, about 3–4 minutes. Scrape the bowl to ensure even texture.
Add eggs one at a time, beating briefly after each. Stir in 1 1/2 teaspoons cake batter flavoring or vanilla until combined.
Whisk together 4 1/2 cups flour and 3 teaspoons baking powder. Add to the wet ingredients in three additions, alternating with 1/2 cup milk if needed, and mix until just combined.
Gently fold in pink gel food coloring to desired shade. Divide batter evenly between pans using a scale or measuring cups.
Bake at 350°F for 22–28 minutes until a toothpick comes out with a few moist crumbs and the cakes spring back lightly to the touch.
Cool in the pans for 10 minutes, then invert onto a rack to cool fully. Chill briefly if trimming is required to create flat layers.
Beat 1/4 cup butter with 8 oz cream cheese and 2 tsp vanilla until smooth. Gradually add 4 cups powdered sugar and thin with 1–2 tablespoons milk to desired consistency.
Level layers if needed, spread frosting between layers, crumb coat, chill, then finish with a smooth outer coat and add sprinkles just before serving.
Last Step: Please leave a rating and comment letting us know how you liked this recipe! This helps our business to thrive and continue providing free, high-quality recipes for you.
Leave a comment & rating below or tag
@feedcooks on social media!

Turn classic crispy treats into creepily realistic Halloween brains—soft, glossy marshmallow centers bound to Rice Krispies, shaped and painted for maximum spooky impact.

A cozy, slow-cooked blend of tender chicken, crushed tomatoes, cream, and Parmesan—this Crock Pot creamy chicken parmesan soup is weeknight comfort made effortless.

Delicate baked cod fillets finished in a bright, silky coconut-lemon cream—an easy weeknight centerpiece that feels special enough for guests.
Leave a comment & rating below or tag @feedcooks on social media!
Enjoyed this recipe? Share it with friends and family, and don't forget to leave a review!
This recipe looks amazing! Can't wait to try it.
Comments are stored locally in your browser. Server comments are displayed alongside your local comments.

Join to receive our email series which contains a round-up of some of our quick and easy family favorite recipes.
