>>
30-MINUTE MEALS! Get the email series now →


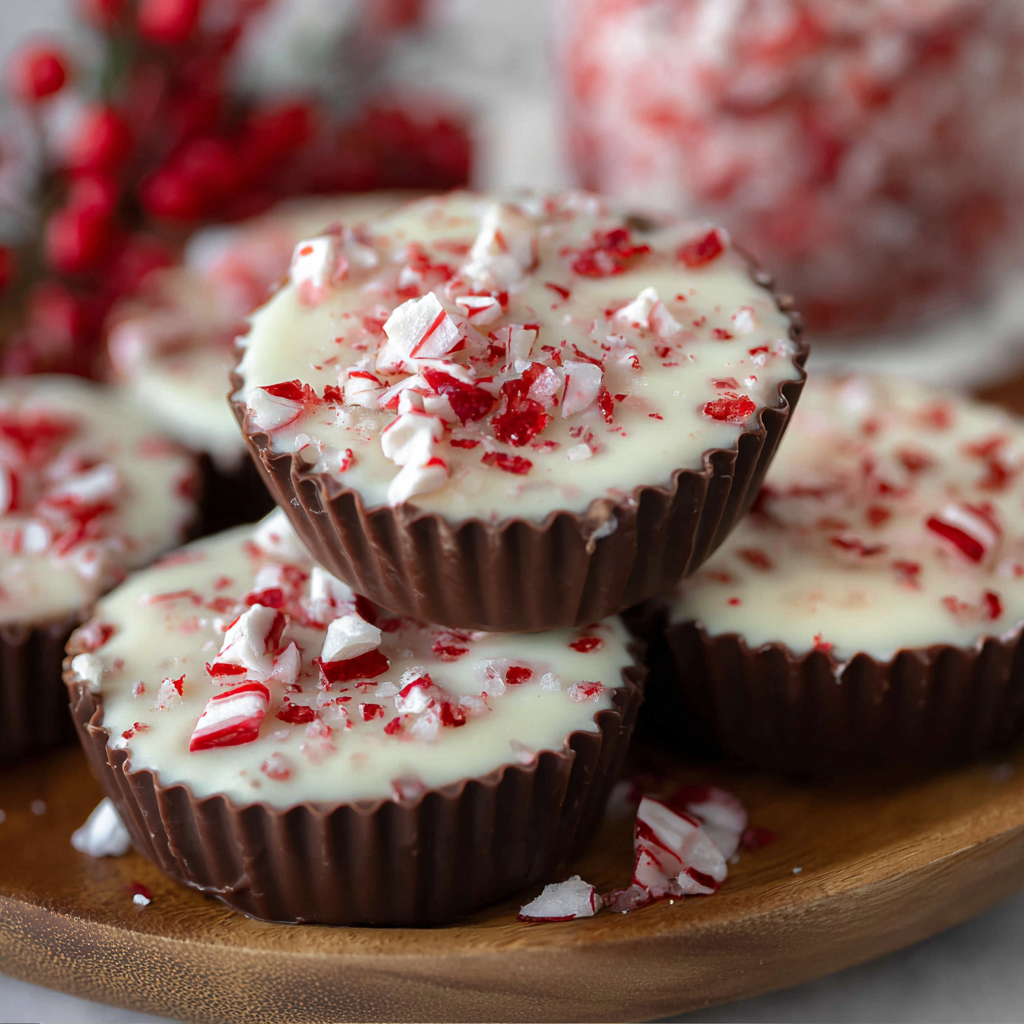
Mini peppermint bark cups with layers of Ghirardelli milk and white chocolate, bright peppermint, and crunchy candy cane topping. A simple, festive treat perfect for gifting or holiday cookie tables.

This little treat became my holiday wildcard the year I needed a fast edible gift that felt both handcrafted and a little indulgent. I discovered the combination while testing easy chocolate confections for a neighborhood cookie swap, and the contrast between deep milk chocolate, sweet white chocolate, and the sharp pop of crushed candy cane instantly won over everyone. The texture is what keeps people coming back, the smooth melt of chocolate followed by crisp peppermint shards that crack under the teeth, and the cups are small enough to eat two without guilt.
I first made these on a rainy December afternoon when I had exactly one bowl and a microwave to work with. They were supposed to be a quick experiment but turned into the go-to treat for classroom parties and last-minute hostess gifts. The cups are forgiving, quick to assemble, and travel well. If you like peppermint bark but want individual portions that look pretty on a plate, these are the solution. They store well, can be dressed up with edible glitter or left rustic with large candy cane pieces, and the recipe scales easily if you need 24 or 48 cups for large gatherings.
When I first served these at a family gathering my grandmother asked for the recipe on a single napkin, and my friends now request a batch every holiday season. The simple method hides how special they feel, and watching people bite into the cups and realize the peppermint is real always brings a small moment of holiday delight.
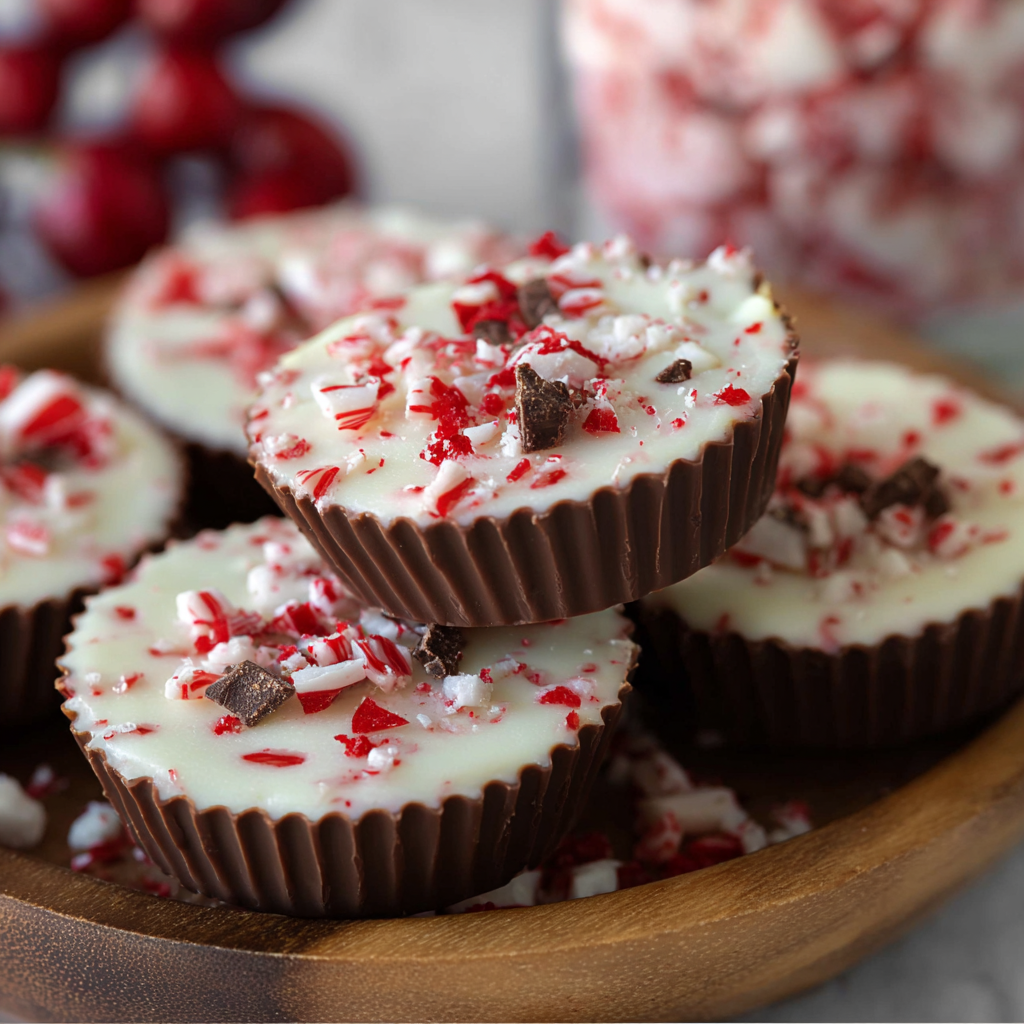
I love how versatile these little cups are. At a cookie exchange the neat rows of peppermint shards on top always draw attention, and when I pack them into small gift boxes friends tell me the contrast of creamy chocolate and crisp peppermint is what makes them irresistible. They are the kind of treat people remember and ask for year after year.
Store cups in an airtight container layered with parchment paper to prevent sticking. Keep them in the refrigerator for longer storage and to maintain a firm texture, especially in warm kitchens. At cool room temperature they will hold shape for a day or two, but refrigeration extends life to about two weeks. For freezing, wrap tightly and place in a freezer safe container for up to three months. Thaw in the refrigerator before serving to avoid condensation on the chocolate surface which can make candy cane pieces soggy.
If you want a less sweet version swap milk chocolate for a 60 percent cacao dark chocolate. To make them vegan, use dairy free chocolate chips and a vegan white chocolate alternative, and replace peppermint extract with a natural peppermint oil at a much lower dosage. For nutty depth add a teaspoon of toasted almond butter to the milk chocolate while it is warm which creates a ganache like mouthfeel. If candy cane is unavailable use crushed peppermint candy or chopped peppermint hard candy, and for color variety add a sprinkle of colored sugar or nonpareils.
Serve the cups on a simple white platter with sprigs of fresh rosemary or holly for a festive look. They pair beautifully with hot beverages like coffee, espresso, or spiced hot chocolate. For a dessert platter include shortbread cookies and chocolate truffles to add textural contrast. Make them part of a gift box with a small note and ribbon and place a few in a mini cellophane bag tied with twine for instant hostess gifts.
Peppermint bark has its roots in seasonal confections, popularized as a holiday treat in the United States in the late 20th century. The classic combination of dark or milk chocolate with white chocolate and peppermint echoes older European traditions where chocolate and mint were paired in candies and sweets. The bar form became widely commercialized by chocolate makers who sold layered bars at holiday markets, and the cup version is a modern bite sized adaptation meant for sharing or gifting.
For winter holidays stick with classic peppermint, but in warmer months swap peppermint for crushed strawberries or citrus zest and use white chocolate with a hint of vanilla. For a Halloween twist use orange tinted white chocolate and crushed candy corn. You can also add a drizzle of salted caramel on top for autumn gatherings which pairs well with warm spices and roasted nuts.
Prepare multiple batches at once by setting up an assembly line with two bowls for chocolate, a container of crushed candy canes, and lined pans. Make ahead and freeze finished cups then thaw overnight in the refrigerator before gifting or serving. For transporting to parties nestle cups in a shallow box with parchment dividers and keep cool in an insulated bag with a gel ice pack to prevent melting on the way.
These peppermint bark cups are an easy way to add something handmade to your holiday table without hours of work, and they always look and taste like you spent more time than you did. Enjoy experimenting with flavors and decorations, and take pleasure in sharing them with friends and family.
Do not overheat chocolate. Heat in short intervals and stir between each cycle to prevent burning.
Taste the white chocolate mixture before filling to adjust peppermint extract in small increments.
Use a mix of fine and coarse candy cane pieces for the best texture contrast on top of each cup.
Chill the milk chocolate shell briefly before adding the white chocolate to prevent mixing and ensure distinct layers.
This nourishing peppermint bark cups recipe is sure to be a staple in your kitchen. Enjoy every moist, high protein slice — it is perfect for breakfast or as a wholesome snack any time.
Yes. Store in an airtight container in the refrigerator for up to two weeks, or freeze for up to three months and thaw in the fridge before serving.
Yes. Use a double boiler or microwave at 20 second intervals to gently melt the chocolate and prevent scorching.
This Peppermint Bark Cups recipe makes perfectly juicy, tender, and flavorful steak every time! Serve with potatoes and a side salad for an unforgettable dinner in under 30 minutes.
Line a standard 12 cup muffin pan with cupcake liners so chocolate can be spooned in and removed easily after setting.
Melt milk chocolate chips in a microwave safe bowl in 30 second intervals, stirring between each interval until smooth. Avoid overheating and aim for about 110 to 115 degrees Fahrenheit maximum.
Divide the melted milk chocolate evenly among liners and press a little up the sides to form a shell. Chill briefly to set the shells before adding the filling.
Melt white chocolate chips in a clean bowl using the same 30 second interval method. Stir in 1/4 teaspoon peppermint extract and 1/3 cup candy cane crunch, then taste and adjust extract if needed.
Spoon the white chocolate peppermint mixture into each milk chocolate shell, then sprinkle extra candy cane pieces on top and tap the pan to remove bubbles.
Let cups set at room temperature for 30 minutes or refrigerate for 15 to 20 minutes until firm. Remove liners if desired and serve chilled or at a cool room temperature.
Last Step: Please leave a rating and comment letting us know how you liked this recipe! This helps our business to thrive and continue providing free, high-quality recipes for you.
Leave a comment & rating below or tag
@feedcooks on social media!

Turn classic crispy treats into creepily realistic Halloween brains—soft, glossy marshmallow centers bound to Rice Krispies, shaped and painted for maximum spooky impact.

A cozy, slow-cooked blend of tender chicken, crushed tomatoes, cream, and Parmesan—this Crock Pot creamy chicken parmesan soup is weeknight comfort made effortless.

Delicate baked cod fillets finished in a bright, silky coconut-lemon cream—an easy weeknight centerpiece that feels special enough for guests.
Leave a comment & rating below or tag @feedcooks on social media!
Enjoyed this recipe? Share it with friends and family, and don't forget to leave a review!
This recipe looks amazing! Can't wait to try it.
Comments are stored locally in your browser. Server comments are displayed alongside your local comments.

Join to receive our email series which contains a round-up of some of our quick and easy family favorite recipes.
