>>
30-MINUTE MEALS! Get the email series now →


A simple, no-knead loaf that delivers a tender crumb and crisp crust — perfect for gluten-free bakers seeking an easy everyday loaf.
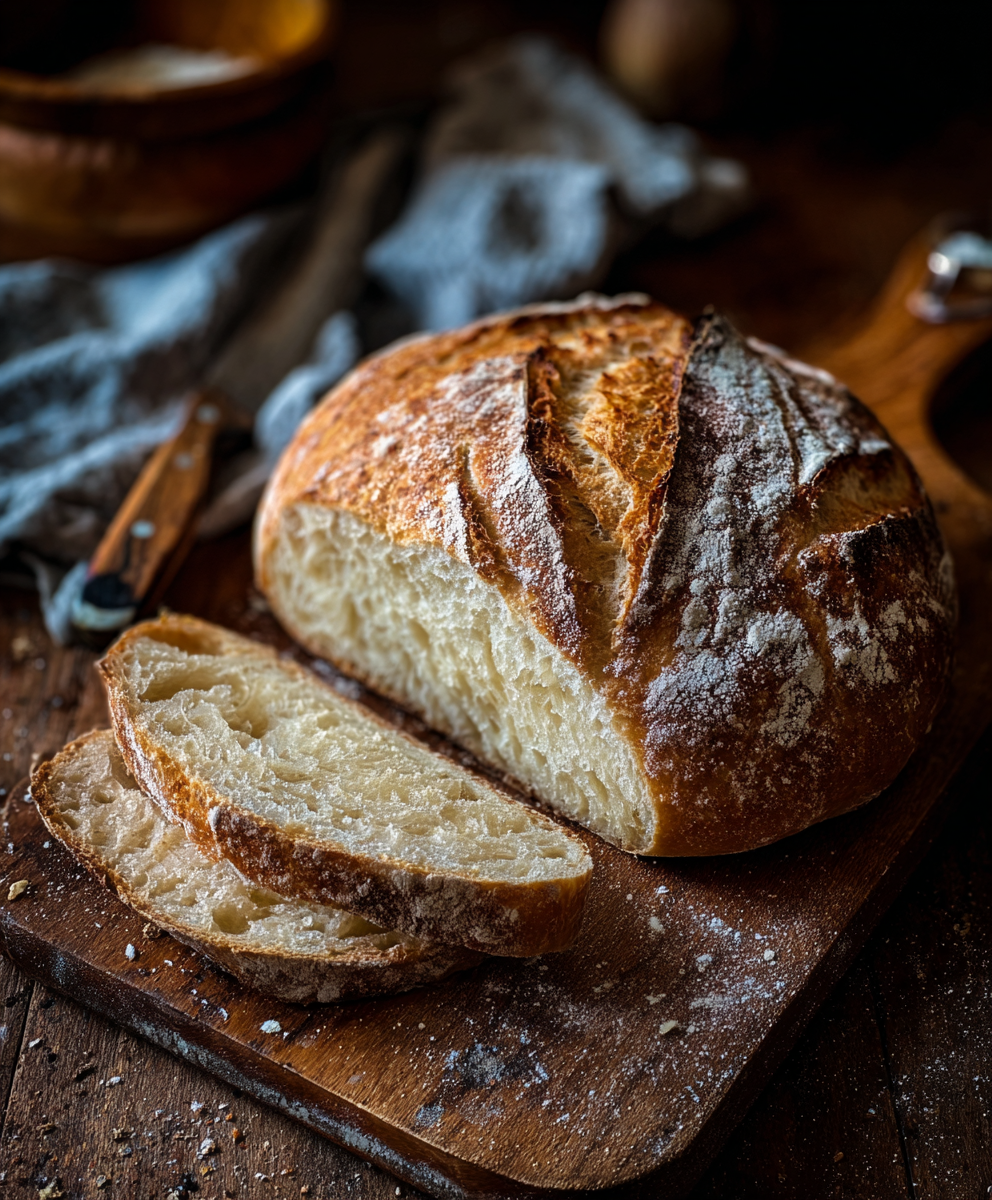
This no-knead gluten free loaf has been my answer to weekday bread cravings for more than a year. I discovered this formula on a rainy afternoon when I wanted fresh bread but did not have the energy to knead or fuss with multiple bowls and steps. The result is a loaf that is surprisingly tender on the inside, with a lightly golden, thin crust that holds together for sandwiches and toast. Because it uses a straight-forward blend of gluten-free all-purpose flour, yeast, and a little sugar or honey to feed the yeast, it feels approachable even if you are new to gluten-free baking.
What makes this loaf special is the texture contrast: a moist, open crumb that still slices without crumbling apart, and a crisp exterior when baked in a preheated Dutch oven or covered baking vessel. My partner first tried it warm with good butter and declared it toast-worthy for life. We now keep this recipe on rotation when guests arrive who need gluten-free options. It is forgiving, travels well to potlucks, and is easy to adapt for sweet or savory variations.
My family immediately warmed to this loaf. The first time I served it at a small dinner, several guests asked for the recipe, surprised it was both gluten-free and so tender. Over time I learned to read the dough by feel and temperature rather than strictly by the clock — this helps me adapt the process on humid days or when my kitchen is cool.

My favorite thing about this recipe is how forgiving it is. I have baked it on busy mornings and late at night with the same reliable outcome, and friends who rarely choose gluten-free options always ask for seconds. It has become a warm staple for impromptu guests and a reliable base for garlic toasts and open-faced sandwiches.
Store the cooled loaf at room temperature wrapped in a clean kitchen towel or in a paper bag for 1 to 2 days to preserve the crust. For longer storage, slice and place in an airtight container or freezer bag and freeze for up to 3 months. To refresh frozen slices, toast them directly from the freezer or warm whole slices in a 350°F oven for 8 to 12 minutes wrapped in foil to prevent drying. Avoid plastic at room temperature for more than a day, as condensation can soften the crust and make the crumb gummy.
If you do not have a gluten-free all-purpose blend with xanthan gum, add 1/2 teaspoon xanthan gum per 2 cups of flour to improve structure. Substitute olive oil with neutral oils like avocado or canola for a milder flavor. If you use active dry yeast instead of instant yeast, dissolve it in the warm water with the sugar and wait 5 to 10 minutes until foamy, then mix into the dry ingredients. For a dairy-containing version, you can replace up to 1/4 cup of the water with plain yogurt for a softer crumb, but this changes the loaf from dairy-free.
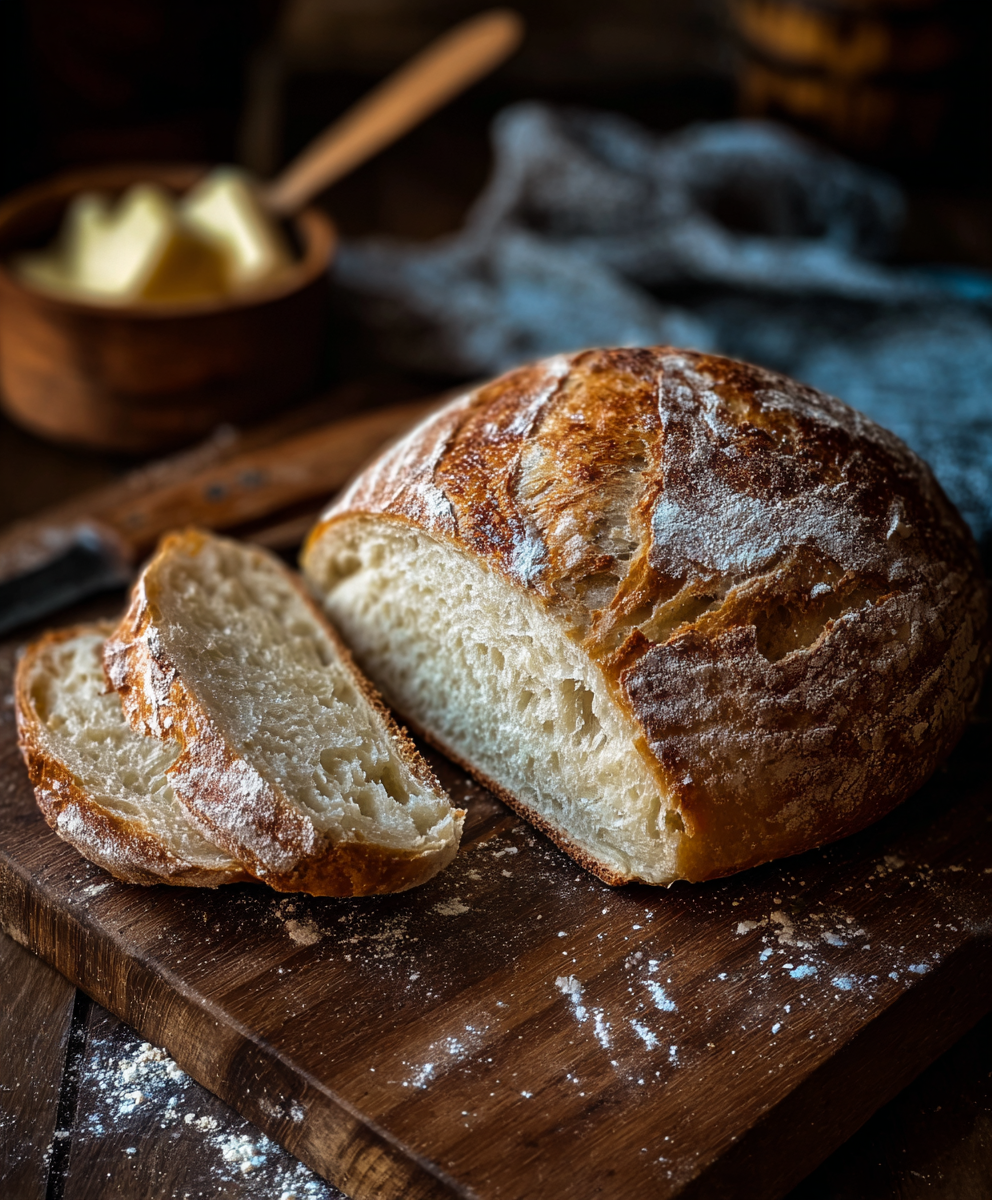
Serve this loaf toasted with good butter and flaky salt for breakfast, or use as a base for avocado toast. It pairs beautifully with hearty soups and stews, especially lentil or tomato-based soups. For sandwiches, allow the loaf to cool fully and slice thinly; it holds fillings like roasted vegetables, deli meats, or soft cheeses well. Garnish slices with fresh herbs, olive oil, or a smear of pesto for a simple appetizer.
Free-form no-knead loaves took inspiration from rustic European hearth breads where long fermentation substituted for extensive handling. The gluten-free adaptation mirrors that spirit — minimal handling and simple ingredients yield a comforting loaf. While traditional European breads rely on gluten for structure, modern gluten-free blends use starches and binders to mimic texture, demonstrating how culinary traditions evolve to include new dietary needs.
Change the loaf by season: in autumn add 1/2 cup roasted pumpkin puree and reduce water slightly for a moist, flavored loaf; in winter fold in 1/3 cup chopped toasted walnuts and 1 tablespoon molasses for depth. In spring and summer, stir in fresh herbs and lemon zest for brightness. Be mindful that additions alter hydration — add wet ingredients gradually and adjust the dough to maintain a thick batter consistency.
Make a double batch and freeze slices in portions for quick breakfasts. Prepare the dry mix in advance and store it airtight; when ready to bake, add water, oil, and a brief rise. For grab-and-go, toast frozen slices for sandwiches and wrap them in parchment. Portioning into 12 slices gives predictable serving sizes for lunches and meal plans.
Enjoy this approachable, forgiving loaf any day of the week. With a few pantry staples and a bit of patience during rising, you can have fresh, gluten-free bread that brings warmth and familiarity to any table.
Use warm water around 105 to 115°F to activate the yeast without killing it.
Let the loaf cool fully before slicing to avoid a gummy crumb.
Preheat the Dutch oven for 30 minutes to ensure a crisp crust and even bake.
If your blend lacks xanthan gum, add 1/2 teaspoon per 2 cups of flour for better structure.
Adjust rise time based on kitchen temperature; look for bubbles and a slight dome rather than strict timing.
This nourishing no-knead gluten free bread recipe is sure to be a staple in your kitchen. Enjoy every moist, high protein slice — it is perfect for breakfast or as a wholesome snack any time.
Yes. Use sugar instead of honey to keep the loaf vegan. Also confirm the flour blend and other ingredients are labeled vegan.
Slice and freeze for up to 3 months. Toast slices directly from the freezer for best texture.
This No-Knead Gluten Free Bread recipe makes perfectly juicy, tender, and flavorful steak every time! Serve with potatoes and a side salad for an unforgettable dinner in under 30 minutes.
Whisk 2 cups gluten-free all-purpose flour, 1 teaspoon salt, 1 teaspoon instant yeast, and 1 tablespoon sugar together in a large bowl until evenly distributed and slightly aerated.
Pour 1 1/2 cups warm water and 1 tablespoon olive oil into the dry mix and stir until a thick, shaggy batter forms. Scrape the bowl to incorporate all dry flour.
Cover loosely and let the batter rise at room temperature for 60 to 90 minutes, until surface bubbles appear and volume increases by 25 to 40 percent.
Turn the batter onto parchment or a floured surface, fold gently to create a round loaf with surface tension using wet or oiled hands, then transfer to parchment for the second rest.
Preheat oven to 450°F with a Dutch oven inside for 30 minutes, allow the shaped loaf to rest 20 to 30 minutes, then score the top lightly.
Place the loaf with parchment into the hot Dutch oven, cover and bake 20 minutes, then remove the lid and bake an additional 15 to 20 minutes until golden and internal temperature reaches about 205°F.
Transfer to a wire rack and cool for at least 45 minutes before slicing to allow the crumb to set and avoid a gummy texture.
Last Step: Please leave a rating and comment letting us know how you liked this recipe! This helps our business to thrive and continue providing free, high-quality recipes for you.
Leave a comment & rating below or tag
@feedcooks on social media!

Turn classic crispy treats into creepily realistic Halloween brains—soft, glossy marshmallow centers bound to Rice Krispies, shaped and painted for maximum spooky impact.

A cozy, slow-cooked blend of tender chicken, crushed tomatoes, cream, and Parmesan—this Crock Pot creamy chicken parmesan soup is weeknight comfort made effortless.

Delicate baked cod fillets finished in a bright, silky coconut-lemon cream—an easy weeknight centerpiece that feels special enough for guests.
Leave a comment & rating below or tag @feedcooks on social media!
Enjoyed this recipe? Share it with friends and family, and don't forget to leave a review!
This recipe looks amazing! Can't wait to try it.
Comments are stored locally in your browser. Server comments are displayed alongside your local comments.

Join to receive our email series which contains a round-up of some of our quick and easy family favorite recipes.
