>>
30-MINUTE MEALS! Get the email series now →


Light, cloudlike cupcakes inspired by Japanese cotton cheesecake — tender, airy centers with a faint tang of cream cheese. Perfect for teatime, celebrations, or when you want an elegant, low-sugar treat.
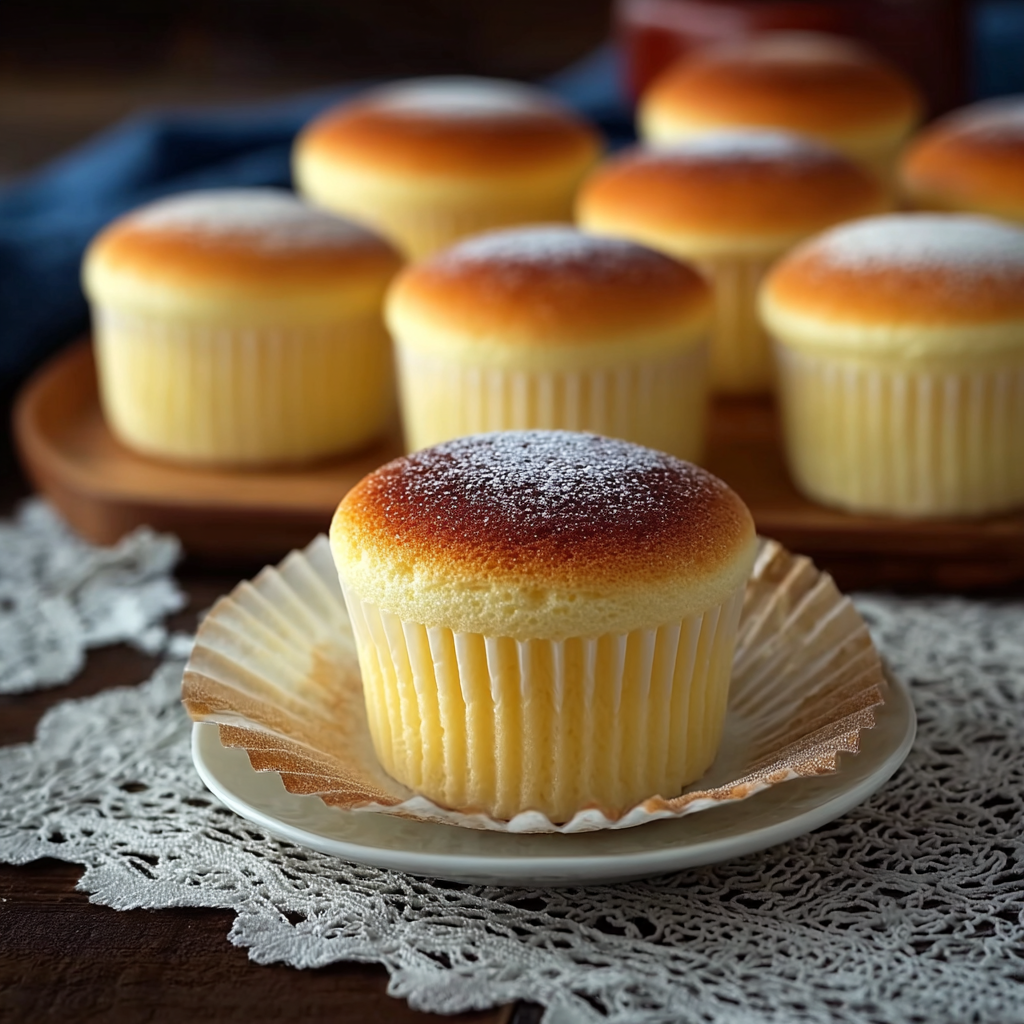
This recipe for Japanese cotton cheesecake cupcakes began as a small weekend experiment and quickly became a favorite at my kitchen table. I first tested the technique during a rainy afternoon when I had leftover cream cheese and a craving for something light that still felt indulgent. The texture is the star: a delicate, jiggly interior that melts on the tongue, balanced by a gentle tang from the cream cheese and a whisper of lemon. Every time I bake these, the house fills with a sweet, warm aroma and we end up sharing the batch around the living room like a tiny celebration.
What makes this version special is the cupcake format — all the ethereal charm of the classic Japanese cotton cheesecake but in convenient single servings. I adjusted the oven temperature and time to produce tall, billowy cupcakes with golden tops and feather-light crumb. These are delightful straight from the oven, dusted with a little powdered sugar, and they pair wonderfully with fresh berries or a cup of green tea. They’re forgiving enough for an enthusiastic home baker yet technical enough to feel like an accomplishment when they wobble perfectly out of the pan.
From the first trial, my family reacted like it was a tiny miracle — my youngest declared them "the fluffiest cupcakes ever," and friends asked for the recipe at the next gathering. Baking them taught me patience with folding technique and the joy of a water bath to create that classic jiggle and creaminess.
My favorite thing about this recipe is the gentle wobble when you take the tin from the oven — it always surprises visiting friends. On one occasion these cupcakes were the centerpiece at a small anniversary tea; guests kept commenting on the texture, asking whether they'd been made with gelatin or some secret ingredient. The secret is technique: patient egg-white whipping and respectful folding.
Store cupcakes in a single layer in an airtight container in the refrigerator for up to four days; the cold helps maintain the custardy interior. For longer storage, freeze on a tray until firm, then transfer to a zip-top bag for up to one month — defrost in the fridge overnight. To refresh slightly before serving, let sit on the counter for 20–30 minutes so they soften but remain cool, or warm gently for 5–10 seconds in the microwave on low power to revive tenderness without melting the structure.
If you don’t have cake flour, make a lighter substitute by replacing 1 cup of all-purpose flour with 2 tablespoons of cornstarch and measuring out the 1/4 cup needed. For a richer flavor, swap whole milk for half-and-half. Gluten-free bakers can experiment with a 1:1 cup-for-cup gluten-free flour blend designed for cakes, but expect a slightly different texture — the cupcakes may be less elastic. For dairy-free needs, plant-based cream cheese and vegan butter can work, but the final flavor and lift will be altered; egg replacements are not recommended because the meringue is key to the structure.
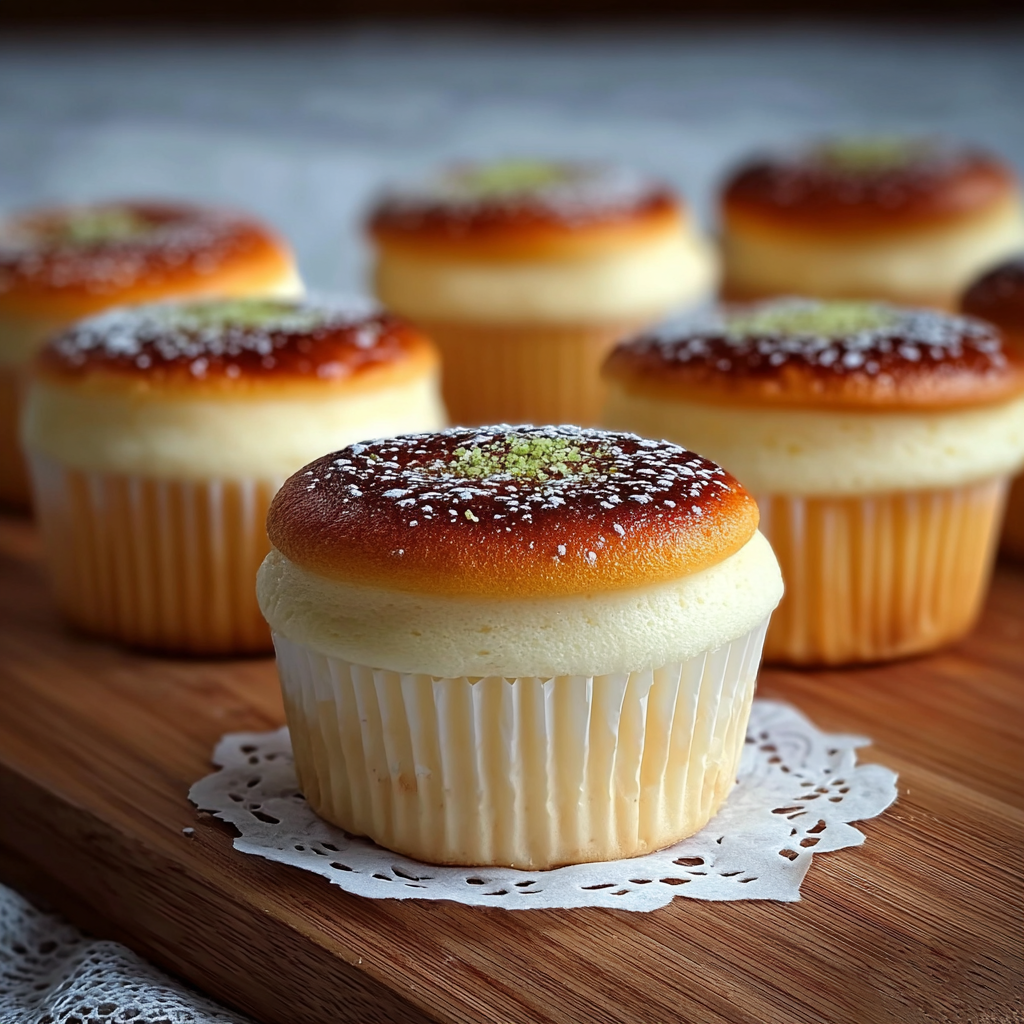
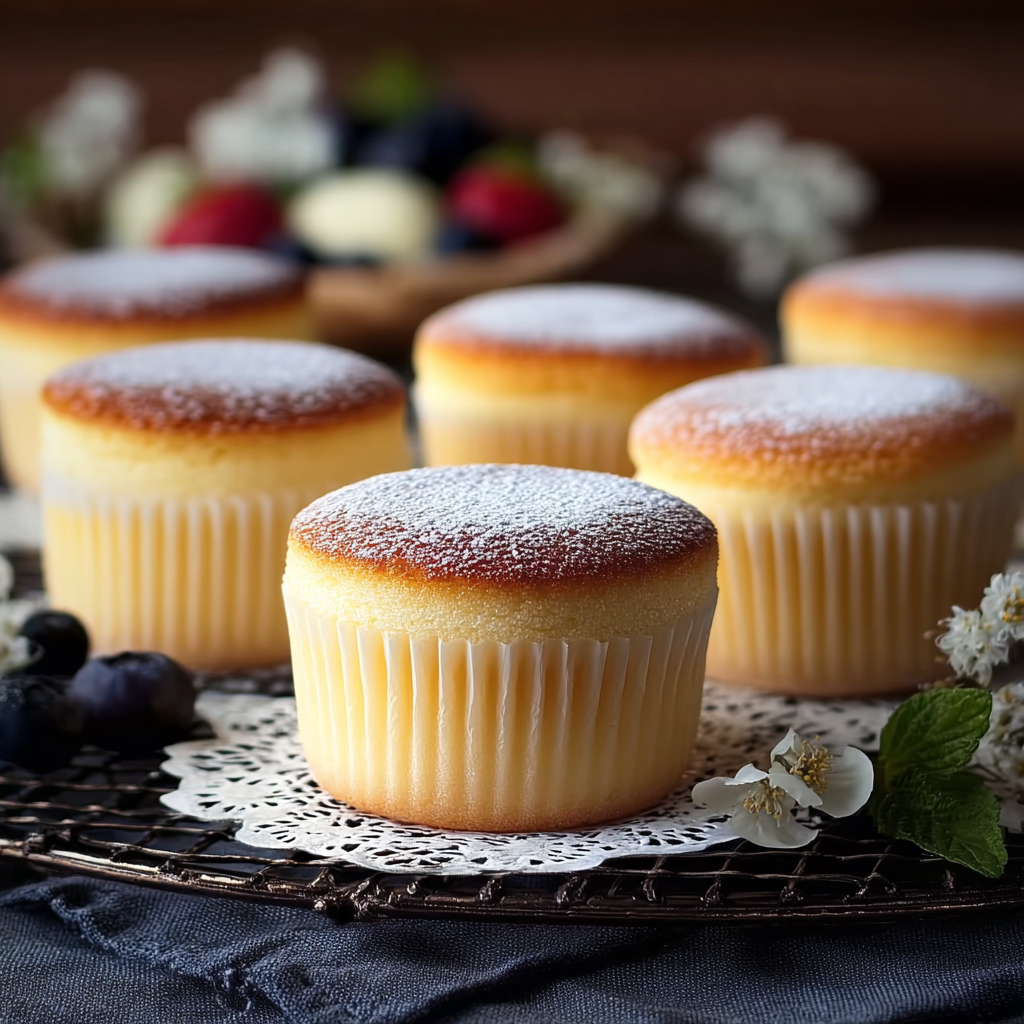
Serve simply dusted with powdered sugar and a scattering of fresh berries for contrast. For a more celebratory presentation, top with a small spoonful of lemon curd or a light berry compote and a sprig of mint. These pair beautifully with green tea, a delicate floral tea, or a light-bodied coffee. Because they’re not overly sweet, you can serve them alongside richer desserts or as a refined finale to a multi-course meal.
The airy, custard-like texture of these cupcakes is inspired by Japanese cotton cheesecake, which itself is a hybrid of Western cheesecakes and Japanese preference for light, less-sweet confections. The technique of folding whipped egg whites into a cheese base is central to achieving that floating, soufflé-like quality. Regional variations across Japan and neighboring countries emphasize subtle differences in sugar, flour, and baking methods, but the essence remains the gentle lift and delicate mouthfeel.
In spring, fold a teaspoon of yuzu zest or swap lemon for a brighter citrus note and garnish with edible spring flowers. In summer, serve with a macerated berry mix or a spoonful of peach compote. For autumn, spice the batter lightly with a pinch of cinnamon and top with poached pears. During the holidays, a whisper of orange zest and a dusting of spiced sugar can bring festive warmth without overwhelming the delicate profile.
To prepare ahead for events, bake the cupcakes and freeze them fully cooled on a tray, then bag them. On the day, thaw in the refrigerator and bring to room temperature just before serving. If transporting, keep them upright and cushioned to protect their fragile tops — use a shallow container with a snug lid and layers of paper towels to minimize movement. They also travel well in a cooler for picnics or potlucks.
These cupcakes are a small ritual in my kitchen: the soft whistle of the mixer, the careful folding, and the gentle steam of the water bath. They reward patience with an elegant, delicate bite that always feels worth the effort. Try them once and they may become your favorite go-to for understated, refined sweets.
Make sure cream cheese and butter are at room temperature to blend smoothly without lumps.
Whip egg whites to glossy medium peaks; under-whipped whites won't provide lift, over-whipped can dry out and deflate when folded.
Fold gently using a spatula with wide, sweeping motions to keep air in the batter; stop as soon as streaks disappear to avoid deflation.
Preheat the oven thoroughly so the cupcakes receive consistent heat at the start of baking for even rise.
This nourishing japanese cotton cheesecake cupcakes recipe is sure to be a staple in your kitchen. Enjoy every moist, high protein slice — it is perfect for breakfast or as a wholesome snack any time.
Yes. Bake as directed; once cooled, freeze on a tray until firm, then transfer to an airtight container or bag for up to one month. Thaw in the refrigerator overnight.
A water bath prevents rapid temperature changes and provides gentle, even heat that preserves moisture and prevents cracking, creating the signature smooth, custardy interior.
This Japanese Cotton Cheesecake Cupcakes recipe makes perfectly juicy, tender, and flavorful steak every time! Serve with potatoes and a side salad for an unforgettable dinner in under 30 minutes.
Preheat oven to 320°F. Line a 12-cup muffin tin with parchment liners. Prepare a large roasting pan for a hot water bath to ensure even, moist baking.
Beat softened cream cheese and butter until smooth. Add egg yolks one at a time, then stir in milk, vanilla, and lemon juice. Sift dry ingredients over the mixture and fold gently until combined.
Whip the egg whites until foamy, then gradually add sugar and beat to medium, glossy peaks. The meringue should hold shape but remain pliable for folding.
Fold one-third of the meringue into the yolk mixture to loosen, then fold in remaining meringue in two additions with wide strokes to retain air.
Divide batter among liners, filling about two-thirds full. Place the muffin tin into the roasting pan and pour hot water until it reaches halfway up the tin sides.
Bake at 320°F for 18–22 minutes until tops are lightly golden and centers wobble slightly. Turn off oven, open door slightly and let cupcakes rest 10 minutes before removing to cool on a rack.
Last Step: Please leave a rating and comment letting us know how you liked this recipe! This helps our business to thrive and continue providing free, high-quality recipes for you.
Leave a comment & rating below or tag
@feedcooks on social media!

Turn classic crispy treats into creepily realistic Halloween brains—soft, glossy marshmallow centers bound to Rice Krispies, shaped and painted for maximum spooky impact.

A cozy, slow-cooked blend of tender chicken, crushed tomatoes, cream, and Parmesan—this Crock Pot creamy chicken parmesan soup is weeknight comfort made effortless.

Delicate baked cod fillets finished in a bright, silky coconut-lemon cream—an easy weeknight centerpiece that feels special enough for guests.
Leave a comment & rating below or tag @feedcooks on social media!
Enjoyed this recipe? Share it with friends and family, and don't forget to leave a review!
This recipe looks amazing! Can't wait to try it.
Comments are stored locally in your browser. Server comments are displayed alongside your local comments.

Join to receive our email series which contains a round-up of some of our quick and easy family favorite recipes.
