
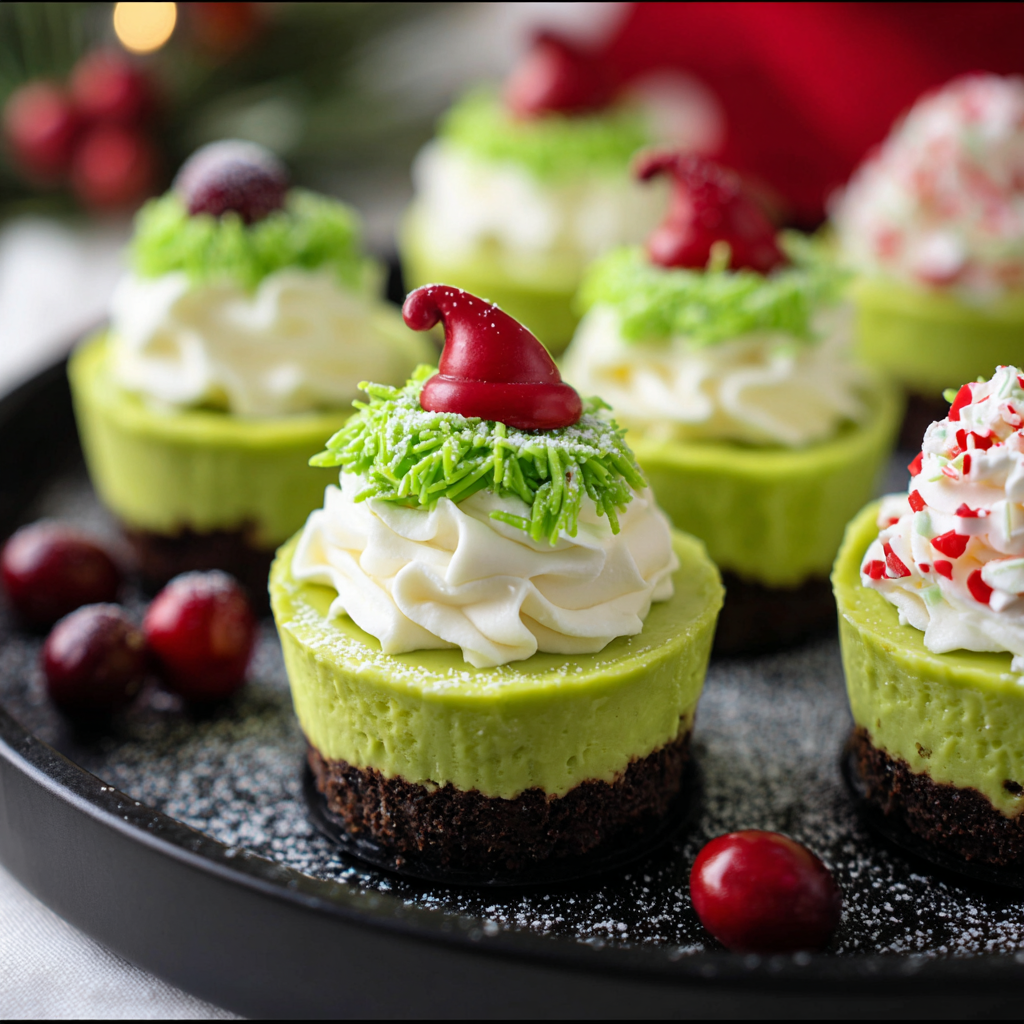
Grinch Mini Cheesecakes

Tiny, festive cheesecakes dyed neon green with an Oreo crust — perfect for holiday parties and easy to make ahead.

This batch of Grinch Mini Cheesecakes has been a holiday tradition in my kitchen ever since a little cousin requested something 'green and sneaky' for a Christmas party. I first experimented with bright food coloring and mini portions one December evening while juggling cookie trays and hot cocoa. The result was so cheerful — tangy, creamy filling atop a crunchy Oreo base — that I started packaging them for neighbors and bringing them to every family gathering. They disappear instantly, and kids and adults alike love the playful color and familiar flavors.
What makes these treats special is their balance of textures and their ease of preparation. The chocolatey Oreo crust gives a firm bite while the filling is silky and just set, with a slight jiggle at the center when perfectly baked. Using neon green food coloring turns an ordinary cheesecake into a whimsical showpiece that pairs wonderfully with a dollop of whipped cream and holiday sprinkles. Over the years I've refined the temperatures and timings so you can produce consistent, picture-perfect minis every time.
Why You'll Love This Recipe
- Comes together quickly: active prep in about 15 minutes and a short bake time of 15–17 minutes, ideal for last-minute party prep.
- Uses pantry staples: crushed Oreo cookies, cream cheese, sugar and eggs — no specialty ingredients required.
- Make-ahead friendly: chill overnight to develop better texture and slice cleanly; they travel well in a covered container.
- Crowd-pleasing presentation: neon green filling makes a festive centerpiece, and each mini is a perfectly portioned bite.
- Kid-approved and easy to customize: top with whipped cream, sprinkles, chocolate drizzle or a tiny candy heart for variety.
In my experience, these have been the easiest way to make an impression without fuss. Friends often ask for the recipe after tasting the vibrant filling, and I love gifting them because they stay fresh and look adorable on a dessert platter.
Ingredients
- Oreo crumbs (Crust): About 1 cup of finely pulsed Oreos (roughly 10–11 cookies). Choose classic Oreos for balance of chocolate and sweetness; pulse to uniform crumbs so the crust presses evenly.
- Butter, melted (Crust): 2 1/2 tablespoons of unsalted butter. Melted and mixed with crumbs, butter binds the base and crisps slightly in the oven.
- Cream cheese: Two 8-ounce blocks (16 ounces total), softened at room temperature. Full-fat cream cheese gives the creamiest texture; let it sit out 30–60 minutes.
- Sugar: 1/2 cup granulated sugar. Sugar sweetens and helps stabilize the texture when beaten into the cheese.
- Eggs: Two large eggs at room temperature. They provide structure and a silkier set when mixed in gently.
- Vanilla: 1 teaspoon pure vanilla extract for depth of flavor — Nielsen-Massey or another pure extract works beautifully.
- Neon green food coloring: Gel or liquid in small amounts until you reach the desired Grinchy hue. Gel tends to give brighter color with less liquid.
- Topping (optional): Whipped cream and holiday sprinkles to finish. Use stabilized whipped cream if you need them to hold up on a platter.
Instructions
Preheat and prepare: Preheat the oven to 350 degrees F. Line a standard 12-cup cupcake pan with paper liners. Allow the cream cheese to come to room temperature for at least 30 minutes — this prevents lumps when beating and yields a silkier filling. Make the crust: Place about 10–11 Oreos into a food processor and pulse until fine crumbs form. Add 2 1/2 tablespoons melted butter and pulse until evenly combined; the mixture should look like damp sand. Divide the crumbs evenly among the 12 liners and press firmly (use the back of a measuring spoon or a small glass) to form compact bases — this helps the crust hold together after baking. Prepare the filling: In a medium bowl, beat the softened cream cheese with the sugar until completely smooth, scraping down the bowl once or twice. Beat in the eggs one at a time until incorporated, then add the vanilla. Avoid overbeating once the eggs are added — mix only until smooth to prevent air bubbles and cracks. Add neon green food coloring a few drops at a time, stirring until the color is uniform and you reach your desired shade. Assemble and bake: Spoon about 1/4 cup of the green filling into each crust-lined cup, filling evenly. Tap the pan gently on the counter to settle the batter and release large air bubbles. Bake for 15–17 minutes at 350 degrees F — the centers should still have a slight jiggle when you gently shake the pan. Overbaking will produce dry minis, so watch the clock closely. Cool and chill: Remove the pan from the oven and let the cheesecakes cool completely at room temperature, about 30–45 minutes. Then transfer to the refrigerator and chill for at least 2 hours, preferably overnight, until fully set and firm. Finish and serve: Top each mini with a small swirl of whipped cream and festive sprinkles just before serving. For transporting, keep chilled in a shallow, airtight container layered with parchment to prevent sticking.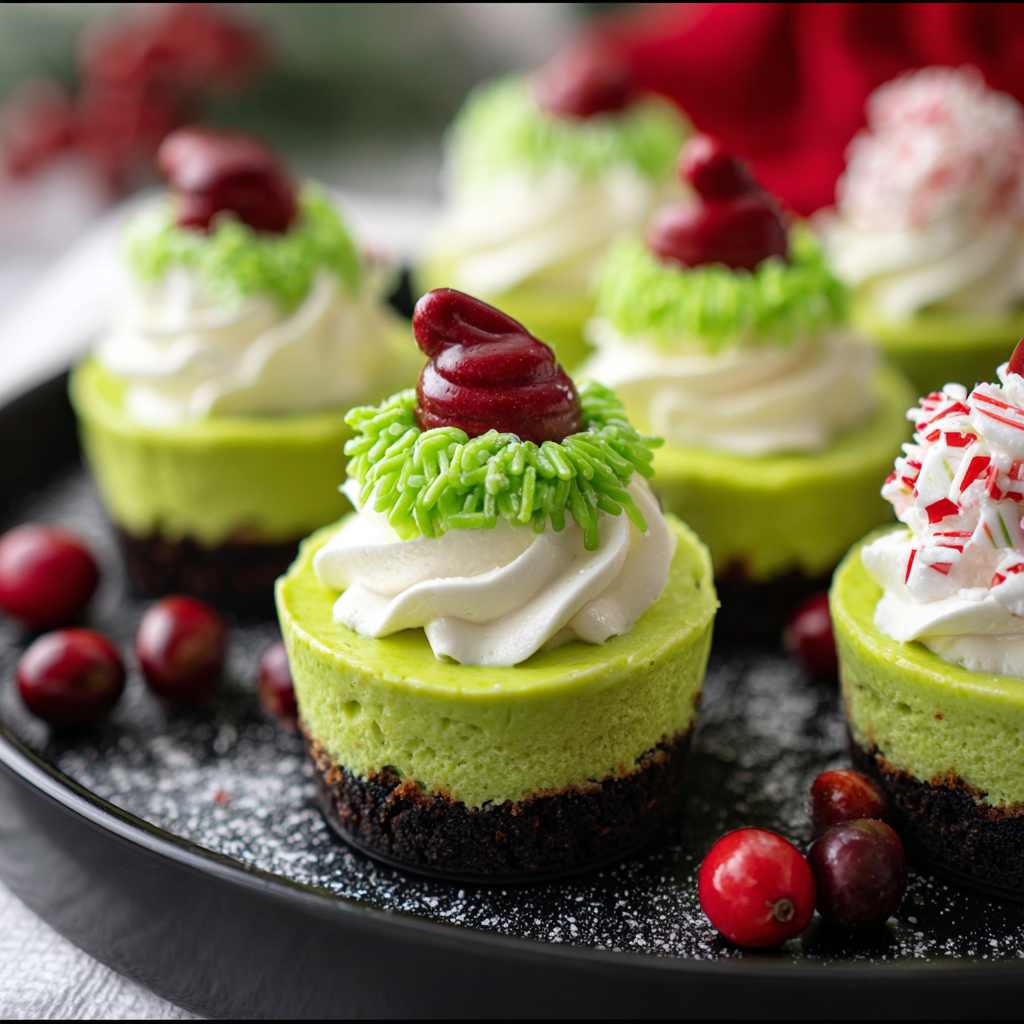
You Must Know
- These minis freeze well for up to 3 months; thaw overnight in the refrigerator before serving.
- Because of the Oreo base, these are not gluten-free unless you use gluten-free chocolate sandwich cookies.
- Using room-temperature eggs and cream cheese reduces the risk of lumps and overbeating, for a silky texture.
- Neon gel food coloring provides brighter color with less added moisture than liquid dyes.
One of my favorite things about these is how reliably they delight a crowd. Over the years I’ve learned that chilling them overnight improves texture dramatically; the flavors meld and the filling firms so each mini slices cleanly. Guests often comment on the color first, then the creaminess — it’s a delightful two-step reaction that never gets old. I always make an extra dozen for unexpected guests, because they vanish quickly.
Storage Tips
Store finished minis in an airtight container in the refrigerator for up to 4 days. To avoid condensation on the topping, place a layer of parchment between stacked layers. For longer storage, freeze them on a tray until firm, then transfer to a freezer-safe container for up to 3 months; wrap each in a small square of parchment to prevent sticking. Thaw in the refrigerator for several hours before serving. If you plan to transport them, keep a shallow cooler with ice packs to maintain a chilled environment — this prevents softening and helps preserve the whipped topping integrity.
Ingredient Substitutions
If you need to adapt the base, swap regular Oreos for gluten-free sandwich cookies to create a gluten-free version; the texture will be nearly identical. For a lighter filling, use reduced-fat cream cheese, though texture will be slightly softer and less rich. Replace granulated sugar with an equal amount of coconut sugar for a deeper caramel note, or use a sugar substitute measured for baking if you want lower sugar content, but expect a slightly different mouthfeel. If you prefer a peppermint twist, use peppermint extract in place of vanilla — use sparingly as it’s quite potent.
Serving Suggestions
Serve these as part of a holiday dessert board with red and white cookies, chocolate bark and fresh berries for color contrast. A small swirl of stabilized whipped cream holds up well in buffets; top with red sanding sugar or tiny candy hearts for seasonal flair. For an elegant adult presentation, add a thin drizzle of dark chocolate and a sprinkle of flaky sea salt to offset the sweetness. These minis are perfect for potlucks, teacher gifts or packed into festive boxes as edible presents.
Cultural Background
Mini cheesecakes are an American spin on classic, European-style cheesecakes, adapted for portion control and ease of entertaining. The idea of playful, themed desserts rose in popularity with modern baking trends and holiday-centric recipes; turning a traditional cheesecake filling green nods to Dr. Seuss's Grinch as a cultural icon for Christmas mischief. Using familiar components like Oreos keeps the flavor approachable while the neon color injects modern party whimsy.
Seasonal Adaptations
In winter months, highlight the theme with peppermint or eggnog-infused versions; add a pinch of nutmeg or cinnamon for warm spices. For spring, swap the green for pastel shades and top with edible flowers. Around Halloween, a similar method makes 'monster' minis using different color palettes and spooky sprinkles. Adjusting the toppings and optional extracts allows these to suit any holiday.
Meal Prep Tips
Make the crust and filling a day ahead: press the crust, cover the pan, and keep in the fridge; prepare the filling and store it covered. On the day of serving, assemble and bake, then chill. For a larger gathering, double the batch and bake on multiple pans; rotate racks midway if using more than one pan in the oven. Use a small cookie scoop for even portions and a metal spatula to remove minis cleanly from the liners if needed.
These Grinch Mini Cheesecakes are a cheerful, simple way to add a bit of magic to holiday spreads. They’re forgiving, quick to make, and endlessly customizable — I hope they become a favorite in your kitchen too.
Pro Tips
Use room-temperature cream cheese and eggs to achieve a lump-free, smooth filling.
Press the crust firmly into the liners to prevent crumbling when serving.
Avoid overbaking; the centers should still jiggle slightly at 15–17 minutes.
Use gel food coloring for brighter color without altering the filling's moisture.
Chill at least 2 hours, preferably overnight, for the best texture and clean slices.
This nourishing grinch mini cheesecakes recipe is sure to be a staple in your kitchen. Enjoy every moist, high protein slice — it is perfect for breakfast or as a wholesome snack any time.
FAQs about Recipes
How long should I chill the cheesecakes before serving?
If you want a firmer filling, chill the minis for at least 4 hours or overnight before serving.
Can I freeze the mini cheesecakes?
Yes — freeze on a tray first, then transfer to a freezer-safe container for up to 3 months. Thaw in the fridge overnight.
Tags
Grinch Mini Cheesecakes
This Grinch Mini Cheesecakes recipe makes perfectly juicy, tender, and flavorful steak every time! Serve with potatoes and a side salad for an unforgettable dinner in under 30 minutes.
Ingredients
Crust
Filling
Toppings (optional)
Instructions
Preheat & Prep
Preheat oven to 350 degrees F and line a 12-cup muffin pan with liners. Allow cream cheese and eggs to come to room temperature.
Make the Crust
Pulse 10–11 Oreos in a food processor until fine. Add 2 1/2 tablespoons melted butter and pulse until combined. Press evenly into liners.
Make the Filling
Beat 16 ounces softened cream cheese with 1/2 cup sugar until smooth. Add eggs one at a time, then vanilla. Mix in green food coloring to desired hue.
Assemble & Bake
Spoon about 1/4 cup filling into each crust-lined cup and bake 15–17 minutes. Centers should be slightly jiggly when done.
Cool & Chill
Cool completely at room temperature, then chill in the refrigerator for at least 2 hours or overnight to firm up.
Finish & Serve
Top with whipped cream and sprinkles just before serving. Store chilled in an airtight container up to 4 days.
Last Step: Please leave a rating and comment letting us know how you liked this recipe! This helps our business to thrive and continue providing free, high-quality recipes for you.
Nutrition
Did You Make This?
Leave a comment & rating below or tag
@feedcooks on social media!
Categories:
You might also like...

Marshmallow Rice Krispies Halloween Brains
Turn classic crispy treats into creepily realistic Halloween brains—soft, glossy marshmallow centers bound to Rice Krispies, shaped and painted for maximum spooky impact.

Crock Pot Creamy Chicken Parmesan Soup
A cozy, slow-cooked blend of tender chicken, crushed tomatoes, cream, and Parmesan—this Crock Pot creamy chicken parmesan soup is weeknight comfort made effortless.

Baked Cod in Coconut Lemon Cream Sauce
Delicate baked cod fillets finished in a bright, silky coconut-lemon cream—an easy weeknight centerpiece that feels special enough for guests.
Did You Make This?
Leave a comment & rating below or tag @feedcooks on social media!
Rate This Recipe
Share This Recipe
Enjoyed this recipe? Share it with friends and family, and don't forget to leave a review!
Comments (1)
This recipe looks amazing! Can't wait to try it.
Comments are stored locally in your browser. Server comments are displayed alongside your local comments.

Hi, I'm Lena!
What's Popular

30-Minute Meals!
Join to receive our email series which contains a round-up of some of our quick and easy family favorite recipes.