>>
30-MINUTE MEALS! Get the email series now →


Light, protein-packed wraps made from a cottage cheese and egg batter — a quick, low-carb alternative to tortillas that crisps at the edges and stays tender inside.
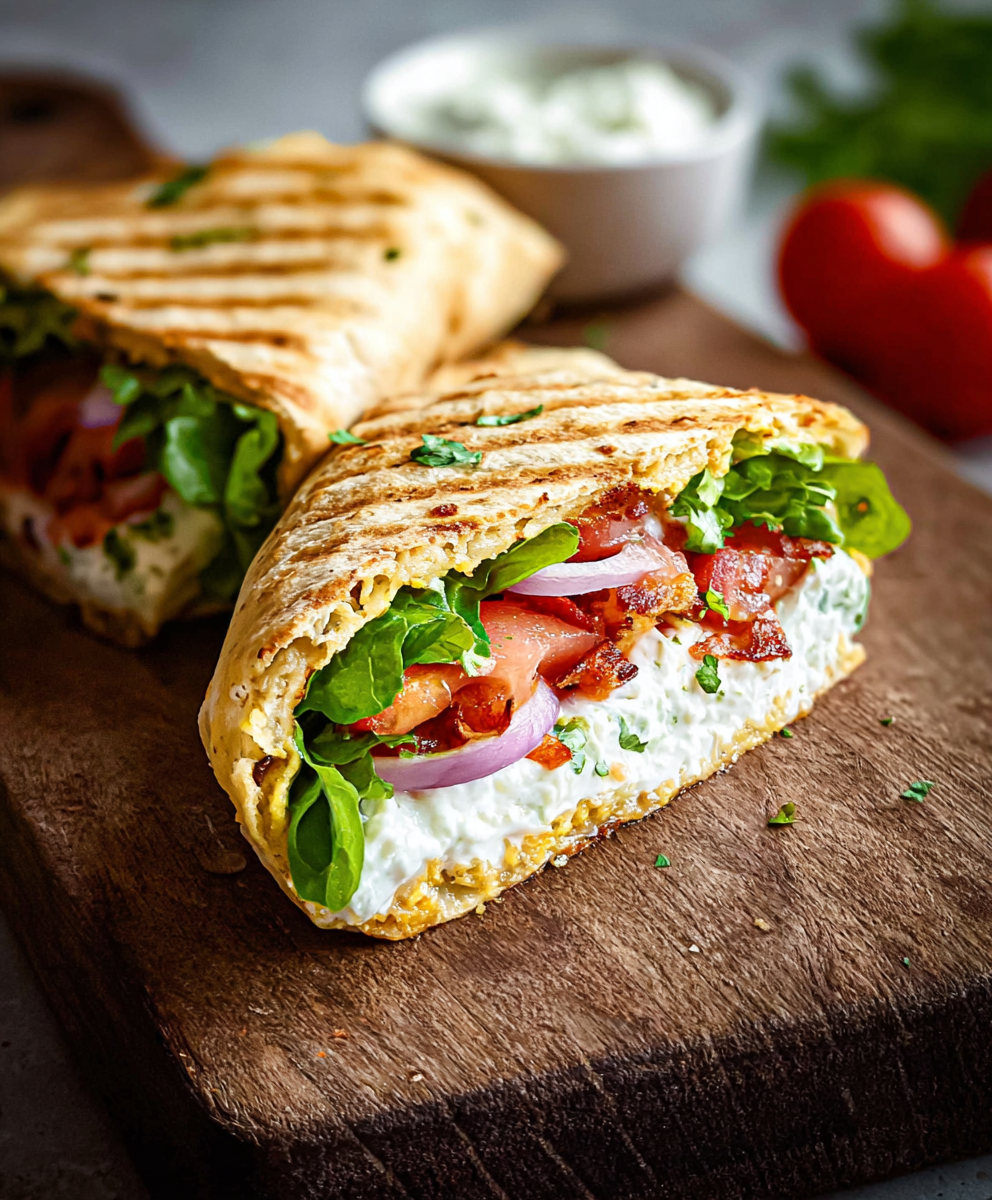
This cottage cheese wrap is one of those simple discoveries that quietly changed my weeknight routine. I first made it on a rushed evening when the pantry was lean and I wanted something light but filling. The combination of full-fat cottage cheese and eggs blends into a silky batter that bakes into a pliable, savory sheet. The finished wraps have gentle savory notes from Parmesan and Italian seasoning, a tender interior from the dairy, and lightly golden edges that add subtle texture. They make an easy vessel for crisp vegetables, grilled chicken, or a smear of pesto.
What I love most is how forgiving this method is. The batter comes together in a minute, and there is no rolling or kneading. When I made these for a casual Sunday lunch, my partner commented that they tasted like a cross between a thin omelet and a soft flatbread. I remember filling one with roasted peppers and an herby chicken salad, and the combination felt both fresh and indulgent. These wraps are ideal for people looking for a lower-carb option that still feels substantial.
In my kitchen this recipe became the go-to when I wanted something lighter than bread but more substantial than a salad. Family members who shy from trying new things were surprised by how satisfying the texture is. Over time I learned small timing tricks — like letting the sheet cool completely before peeling — that made the difference between a floppy wrap and one that holds fillings beautifully.

My favorite aspect is how quickly the batter comes together yet yields a versatile flatbread alternative. When guests visit, I like to offer a small station with roasted vegetables, sliced turkey, and an herbed yogurt sauce so everyone can build their own. It always sparks conversation about how a few simple ingredients can transform into something unexpectedly delicious.
Store cooled sheets flat in the refrigerator between layers of parchment or wax paper inside an airtight container. Properly stored, they keep quality for up to 3 days. For longer storage, cut into portions, wrap each one tightly in plastic wrap and foil, and freeze for up to 3 months. To reheat from frozen, thaw overnight in the refrigerator and warm in a skillet over low heat for one to two minutes per side to restore pliability. Avoid microwaving for long periods as it can make the wrap rubbery.
If you prefer a milder cheese, swap the Parmesan for 2 tablespoons of grated Pecorino Romano or use 3 tablespoons of grated cheddar for a different flavor profile. For lower sodium, choose a low-sodium cottage cheese and omit additional salt; you may want to add a teaspoon of chopped fresh herbs for brightness. To make the texture slightly more elastic, add one tablespoon of almond flour or finely ground oat flour; this will absorb a touch of moisture without making the sheet heavy.
These wraps are perfect for brunch with smoked salmon, dill, capers and a smear of crème fraîche, or for a light lunch filled with grilled vegetables, arugula and a lemon-tahini drizzle. For a heartier dinner, stuff with sliced roast chicken, sun-dried tomatoes and baby spinach. Garnish with microgreens, a dusting of extra Parmesan, or a sprinkle of red pepper flakes for visual contrast and a flavor lift.
While not traditional to any single cuisine, this dairy-and-egg flat sheet echoes techniques found in many cooking traditions that use egg-based batters to form delicate crepes or omelet-style wraps. The use of cottage cheese as a base is a modern adaptation driven by the desire for higher-protein, lower-carbohydrate alternatives to wheat-based flatbreads. Variants of egg-and-dairy sheets appear in Eastern European and Mediterranean home cooking, adapted to local cheeses and herbs.
In spring and summer, fill the wraps with crisp radishes, cucumber ribbons, fresh herbs and a lemony yogurt for brightness. In autumn, switch to roasted squash, cranberries and a sage-infused ricotta spread. During the holidays, pair with sliced turkey, cranberry relish and a smear of herbed cream cheese for a festive handheld meal.
Make a double batch and store individual portions for quick workday lunches. Keep wetter fillings, like tomato slices, separated until assembly to prevent sogginess. Pack fillings in separate containers and assemble right before eating. If you plan to pack the wrap early, layer a barrier such as lettuce between wrap and wet ingredients to maintain texture.
I encourage you to make this recipe your own: experiment with cheeses and herbs, swap fillings seasonally, and note the cooling step — it is the small detail that turns a fragile sheet into a dependable wrap. Enjoy building flavors and memories around this simple, adaptable dish.
Use room-temperature eggs for a smoother batter and more even blending.
Spread the batter evenly into a rectangle so the sheet cooks uniformly; a silicone spatula helps.
Cool fully on the baking sheet before removing to prevent tearing.
Layer wet fillings like tomato between lettuce and the wrap to avoid sogginess during storage.
If the batter looks too wet, add a tablespoon of almond flour or oat flour to help it set.
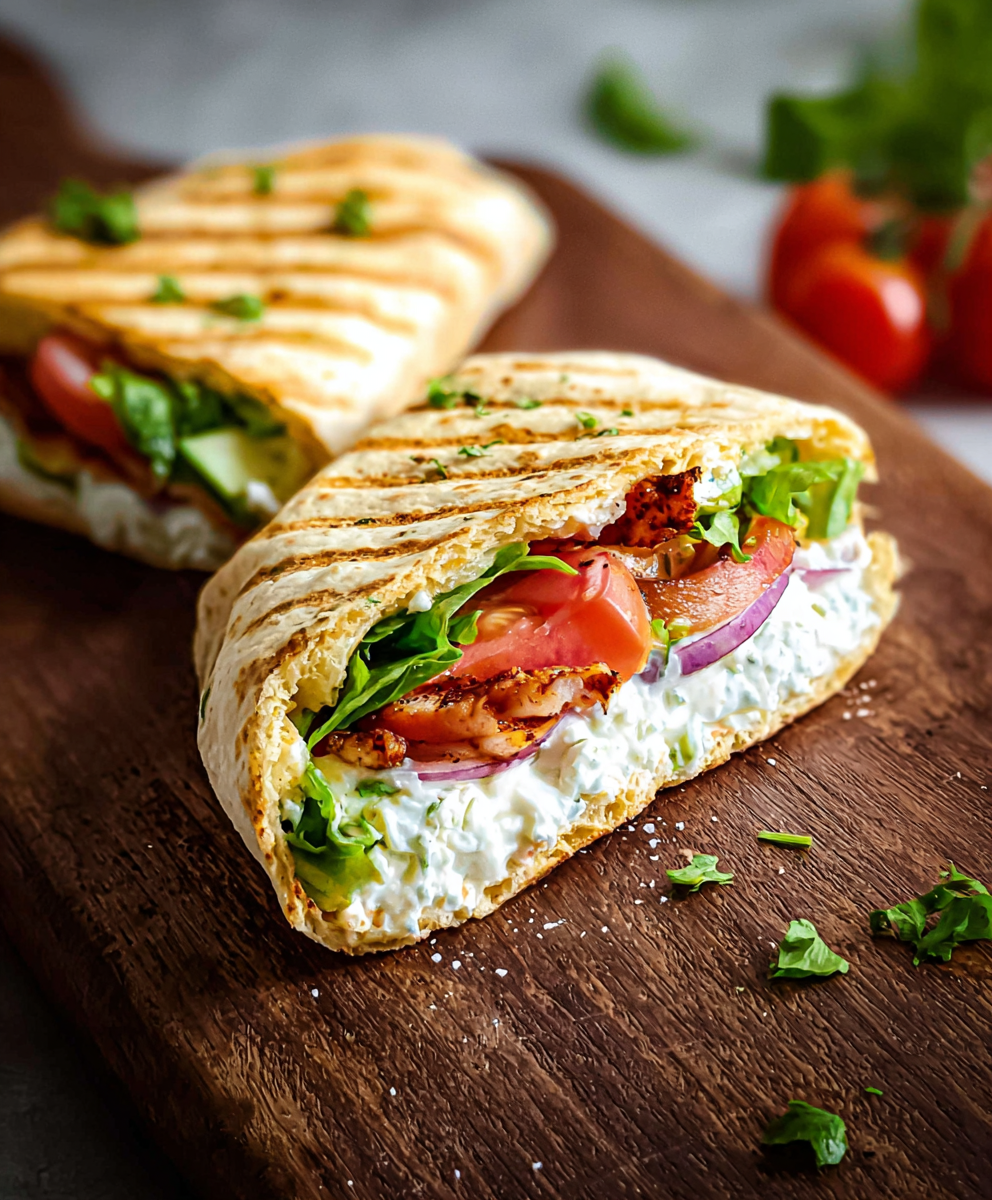
This nourishing cottage cheese wraps recipe is sure to be a staple in your kitchen. Enjoy every moist, high protein slice — it is perfect for breakfast or as a wholesome snack any time.
Let the baked sheet cool completely on the tray before peeling; cooling firms it so it lifts cleanly.
Store wrapped sheets in the refrigerator for up to 3 days; freeze portions for up to 3 months.
This Cottage Cheese Wraps recipe makes perfectly juicy, tender, and flavorful steak every time! Serve with potatoes and a side salad for an unforgettable dinner in under 30 minutes.
Preheat oven to 350°F (175°C). Line a large rimmed baking sheet with parchment paper to prevent sticking and to create a uniform surface for spreading the batter.
Place cottage cheese, eggs, Parmesan, garlic powder, and Italian seasoning into a blender or food processor. Blend about 60 seconds until the mixture is smooth and homogeneous with no large curds.
Pour batter onto the prepared sheet. Use a silicone spatula to spread into a thin rectangle roughly 10 by 12 inches, ensuring even thickness to promote uniform baking.
Bake in the center of the oven for 30 to 35 minutes, or until the top is set and lightly golden. Start checking at 30 minutes; a slight jiggle in the center is acceptable but there should be no liquid.
Allow the sheet to cool completely on the tray for at least 20 minutes to firm up. Gently peel away parchment and lift the wrap; if it resists, cool a bit longer.
Cut into two sections or more for smaller wraps. Fill with greens, proteins, vegetables, and sauces, placing wetter fillings between layers to protect the wrap.
Last Step: Please leave a rating and comment letting us know how you liked this recipe! This helps our business to thrive and continue providing free, high-quality recipes for you.
Leave a comment & rating below or tag
@feedcooks on social media!

Turn classic crispy treats into creepily realistic Halloween brains—soft, glossy marshmallow centers bound to Rice Krispies, shaped and painted for maximum spooky impact.

A cozy, slow-cooked blend of tender chicken, crushed tomatoes, cream, and Parmesan—this Crock Pot creamy chicken parmesan soup is weeknight comfort made effortless.

Delicate baked cod fillets finished in a bright, silky coconut-lemon cream—an easy weeknight centerpiece that feels special enough for guests.
Leave a comment & rating below or tag @feedcooks on social media!
Enjoyed this recipe? Share it with friends and family, and don't forget to leave a review!
This recipe looks amazing! Can't wait to try it.
Comments are stored locally in your browser. Server comments are displayed alongside your local comments.

Join to receive our email series which contains a round-up of some of our quick and easy family favorite recipes.
