>>
30-MINUTE MEALS! Get the email series now →


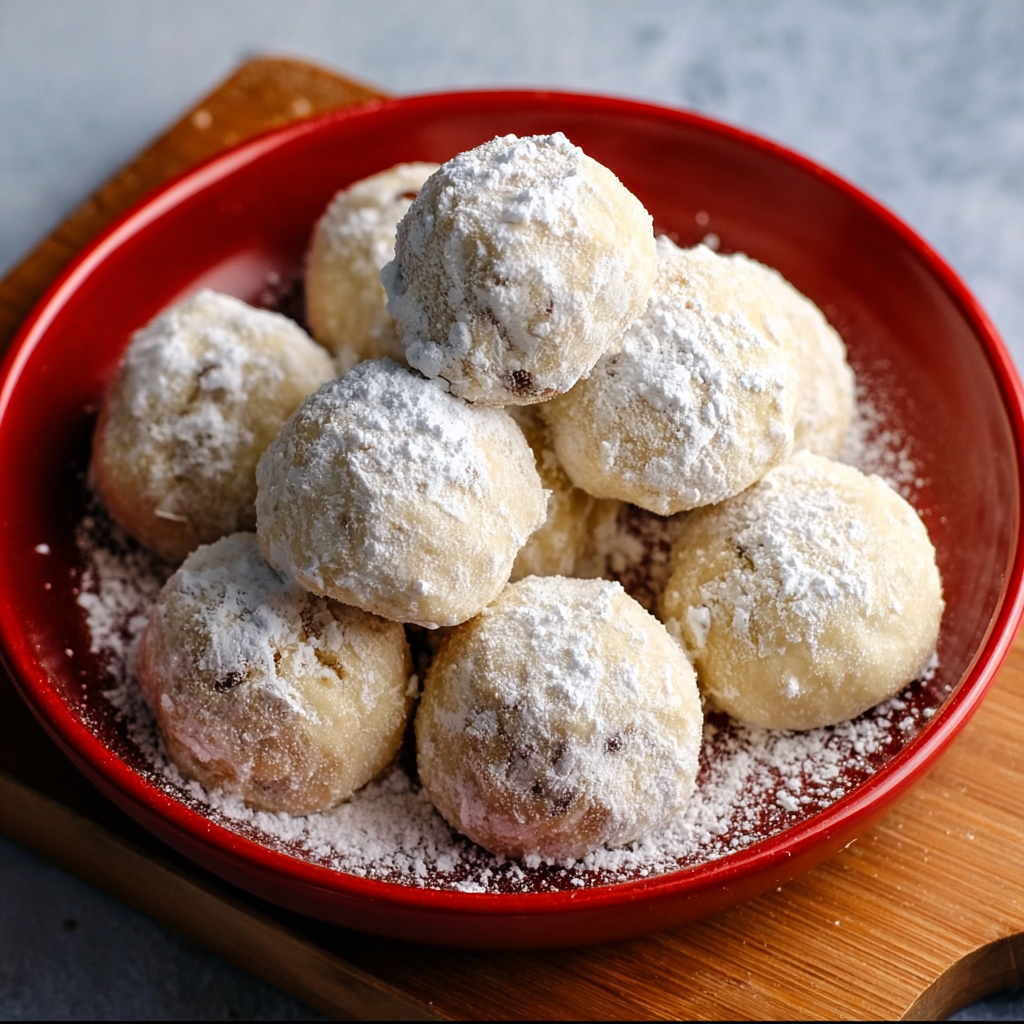
Buttery, nutty snowball cookies rolled in powdered sugar — a timeless, melt-in-your-mouth treat perfect for holidays, tea, or anytime you need a little comfort.

This recipe for snowball cookies has been a holiday staple in my kitchen for years. I first learned this variation during a snowy December when a neighbor brought a tin of cookies to welcome us to the block; the tender, crumbly rounds melted on the tongue and filled the house with the smell of butter and toasted nuts. I recreated the cookie from memory, refined the balance of flour and nuts, and discovered that using slightly chilled dough and a gentle roll produces the delicate texture everyone remembers. These cookies are special because they manage to be both rustic and elegant: simple to make yet indulgent enough for celebrations.
I discovered how adaptable the base is — swap the nuts, use a different flour, or roll in cocoa for a modern twist — and each variation offers a slightly different character while keeping the same comforting finish. The texture is the real star: a short, almost sandy crumb that yields immediately and then dissolves into buttery sweetness. Make them for a crowd, for gift tins, or for quiet afternoons with a cup of tea; they travel well and make a lovely, nostalgic gift.
From the first time I rolled the dough to the tenth batch I made for a charity bake sale, every iteration reinforced how forgiving the formula is. Family and friends always reach for seconds, and I love tucking a few into notebooks or pockets for unexpected winter walks. The combination of toasted nut flavor and the whisper of powdered sugar keeps people coming back, and I’ve learned little tricks — like cooling slightly before the first roll in sugar — that elevate the final finish.
What I love most about this dough is how forgiving it is. If I’m running late, I’ll shape the dough into a log and slice off rounds; when I have spare time, I toast the nuts and finely chop them for a more intense nutty profile. Every gathering where I bring these, someone always says they taste like a childhood memory or a grandmother’s kitchen — and that’s the best compliment.
To preserve texture, cool cookies completely before storing. For short-term storage, place cookies in a single layer in an airtight container with parchment between layers to prevent sticking; they keep well at room temperature for 4 to 5 days. For longer storage, freeze baked cookies in a single layer on a tray until firm, then transfer to a freezer-safe bag for up to 3 months. To refresh slightly stale cookies, warm gently in a 250-degree F oven for 5 to 7 minutes, then re-roll in powdered sugar for a fresh appearance.
If you need to adjust the recipe, swap flours as follows: use spelt or whole wheat pastry for nuttier flavor but reduce mixing to avoid toughness; substitute a one-to-one gluten-free flour blend and add 1/4 teaspoon xanthan gum only if your blend lacks binding agents. Replace butter with refined coconut oil at a 1:1 ratio for a dairy-free version; note that coconut aroma may be detectable unless you use refined coconut oil. Omit nuts entirely for a plain version, and add 1/4 cup extra flour to maintain structure. Replace half the powdered sugar in the dough with granulated sugar if you prefer a slightly firmer crumb, though powdered sugar yields the most tender result.
Present these on a simple white platter dusted with additional powdered sugar for contrast. They pair beautifully with black tea, coffee, or a glass of cold milk. For holiday spreads, layer with other small cookies in tins, or nestle a few sprigs of fresh rosemary for a fragrant garnish. For a grown-up pairing, serve alongside an espresso or a lightly sweet Marsala for dipping. For a festive twist, sprinkle a tiny pinch of flaky sea salt on warm cookies before the first roll for a salty-sweet contrast.
These snow-dusted cookies go by many names — Russian tea cakes, Mexican wedding cookies, or butterballs — and each culture has its own slight variation. The core idea of a short, nutty butter cookie rolled in sugar appears in European and Middle Eastern traditions as well, making it a cross-cultural favorite for celebrations and weddings. The simplicity of the ingredients and the dramatic powdered sugar finish made them a natural for festive events where appearance matters as much as taste.
In winter, add 1/2 teaspoon ground cinnamon and a pinch of cloves to the dough for a warming spice profile. For spring, fold in 1 teaspoon vanilla extract and use slivered almonds for an elegant look. In summer, swap half the nuts for toasted coconut flakes and roll in a blend of powdered sugar and finely grated lime zest for brightness. For chocolate lovers year-round, mix 2 tablespoons cocoa into a portion of the dough to create chocolate-marbled rounds.
Shape dough into small balls and refrigerate on a tray for up to 48 hours; bake directly from chilled with the same timing. For freezing, freeze balls on a tray, then bag them; bake from frozen and add 2 to 3 extra minutes to the bake time. Portion cookies into small resealable containers for grab-and-go snacks; they make excellent additions to lunchboxes and picnic baskets. Label freezer packs with the date and bake a test cookie after thawing so you can adjust timing if needed.
These snowball cookies are a simple, joyful treat that reward small attentions — like toasting the nuts or double-rolling in sugar. I encourage you to experiment with nut varieties and flour choices and to share the results with friends; there’s something generous about a tin of these that sparks conversation and memory.
Toast the nuts lightly in a dry skillet for 3 to 5 minutes before chopping to deepen the flavor.
Chill slightly if the dough becomes too soft to shape; 10 to 15 minutes in the fridge firms it without making it hard to scoop.
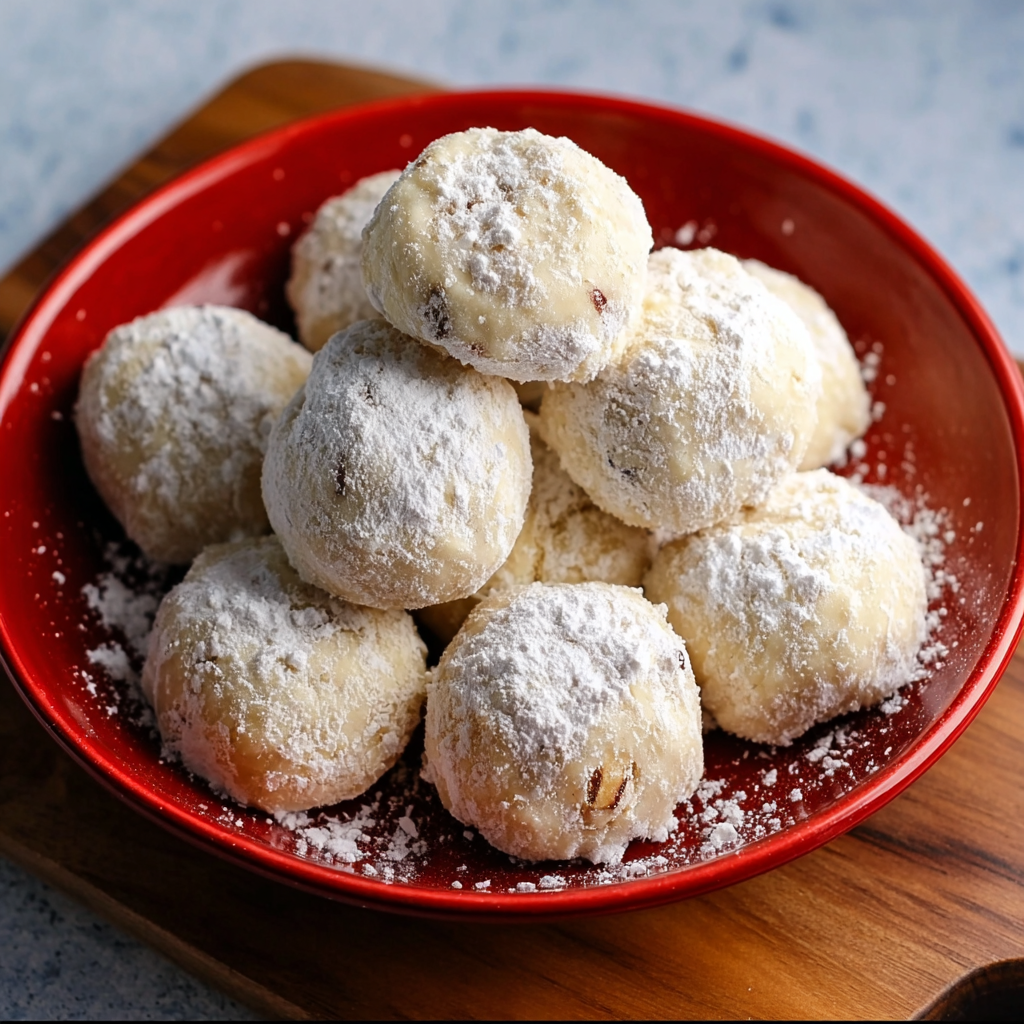
Roll the warm cookies in powdered sugar, then cool and roll again for a fuller snow-covered finish.
If using a convection oven, reduce temperature by 15°F and watch for earlier doneness to avoid over-browning.
This nourishing classic snowball cookies (russian tea cakes / mexican wedding cookies) recipe is sure to be a staple in your kitchen. Enjoy every moist, high protein slice — it is perfect for breakfast or as a wholesome snack any time.
Yes. For a dairy-free version use refined coconut oil in place of butter at a 1:1 ratio. The texture will be slightly different and the flavor may be subtly coconut-forward.
Yes. Freeze shaped dough balls on a tray, then transfer to a sealed container for up to 3 months. Bake from frozen, adding 2-3 minutes if needed.
This Classic Snowball Cookies (Russian Tea Cakes / Mexican Wedding Cookies) recipe makes perfectly juicy, tender, and flavorful steak every time! Serve with potatoes and a side salad for an unforgettable dinner in under 30 minutes.
Preheat the oven to 325°F and position the rack in the center. Use parchment or an unlined baking sheet for best results.
Beat 1 cup softened butter (or coconut oil) with 1/2 cup powdered sugar until smooth and slightly pale, about 1 to 2 minutes.
Stir together 2 cups flour and 1/2 cup finely chopped toasted nuts in a separate bowl; let nuts cool before combining.
Fold the dry mixture into the creamed fat just until a uniform dough forms; avoid overmixing to prevent toughness.
Portion dough into 1-inch balls, place 1 inch apart on a baking sheet, and bake 20 to 25 minutes until bottoms begin to color and tops are set.
While warm, roll each cookie in powdered sugar. After cooling completely on a wire rack, roll again for a fuller coating.
Cool cookies completely on a wire rack. Store in an airtight container at room temperature up to 5 days, or freeze for longer storage.
Last Step: Please leave a rating and comment letting us know how you liked this recipe! This helps our business to thrive and continue providing free, high-quality recipes for you.
Leave a comment & rating below or tag
@feedcooks on social media!

Turn classic crispy treats into creepily realistic Halloween brains—soft, glossy marshmallow centers bound to Rice Krispies, shaped and painted for maximum spooky impact.

A cozy, slow-cooked blend of tender chicken, crushed tomatoes, cream, and Parmesan—this Crock Pot creamy chicken parmesan soup is weeknight comfort made effortless.

Delicate baked cod fillets finished in a bright, silky coconut-lemon cream—an easy weeknight centerpiece that feels special enough for guests.
Leave a comment & rating below or tag @feedcooks on social media!
Enjoyed this recipe? Share it with friends and family, and don't forget to leave a review!
This recipe looks amazing! Can't wait to try it.
Comments are stored locally in your browser. Server comments are displayed alongside your local comments.

Join to receive our email series which contains a round-up of some of our quick and easy family favorite recipes.
