>>
30-MINUTE MEALS! Get the email series now →


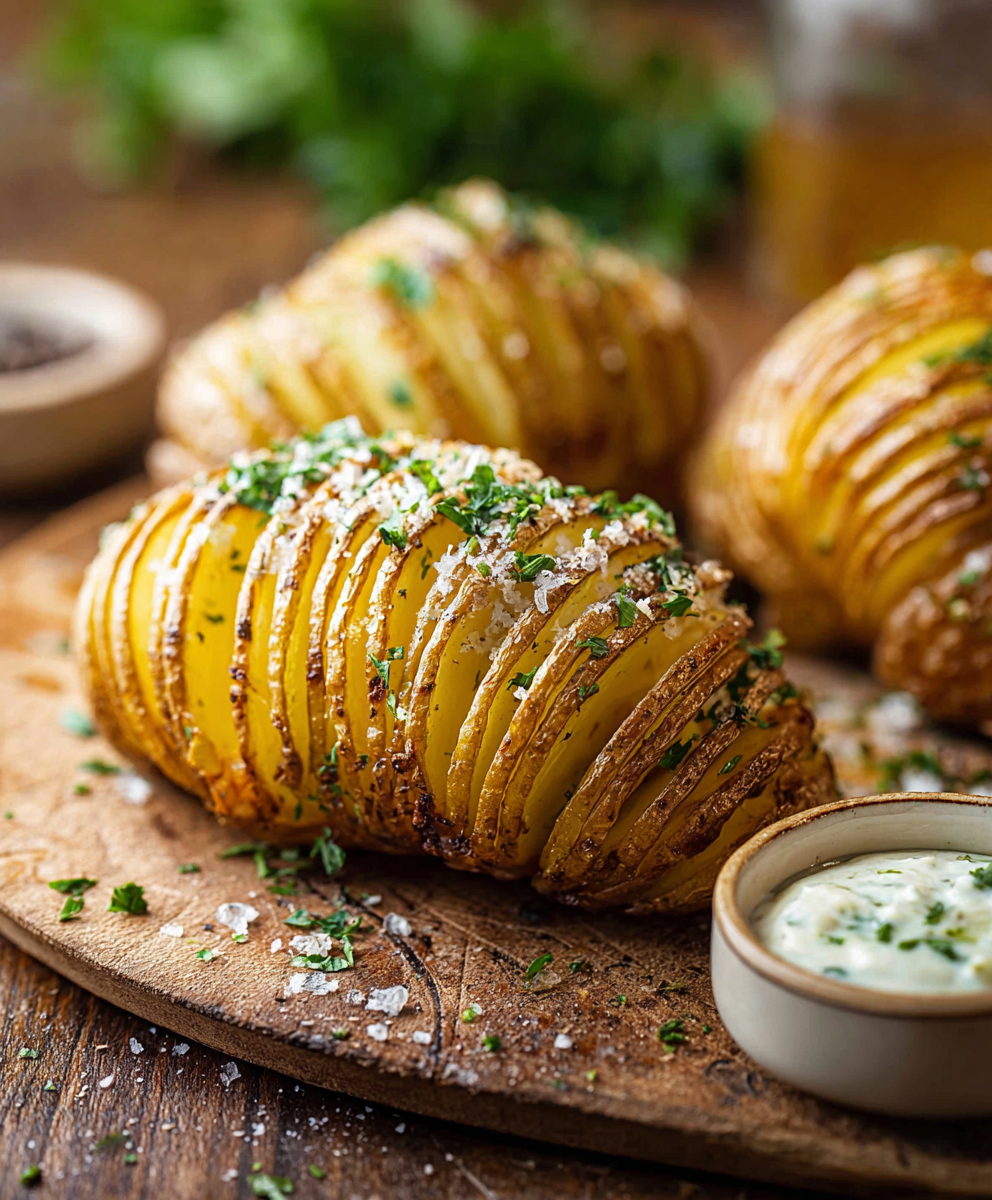
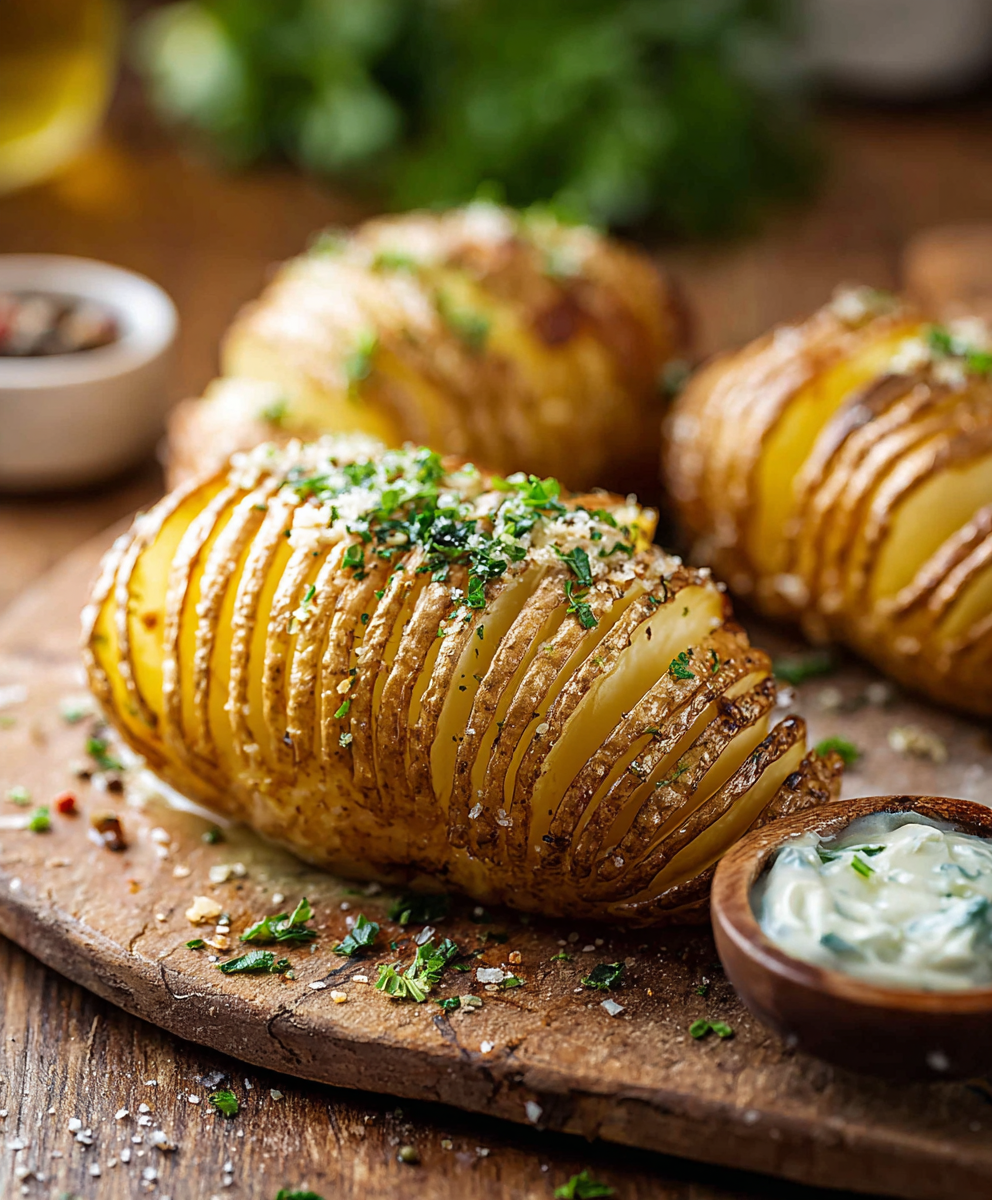
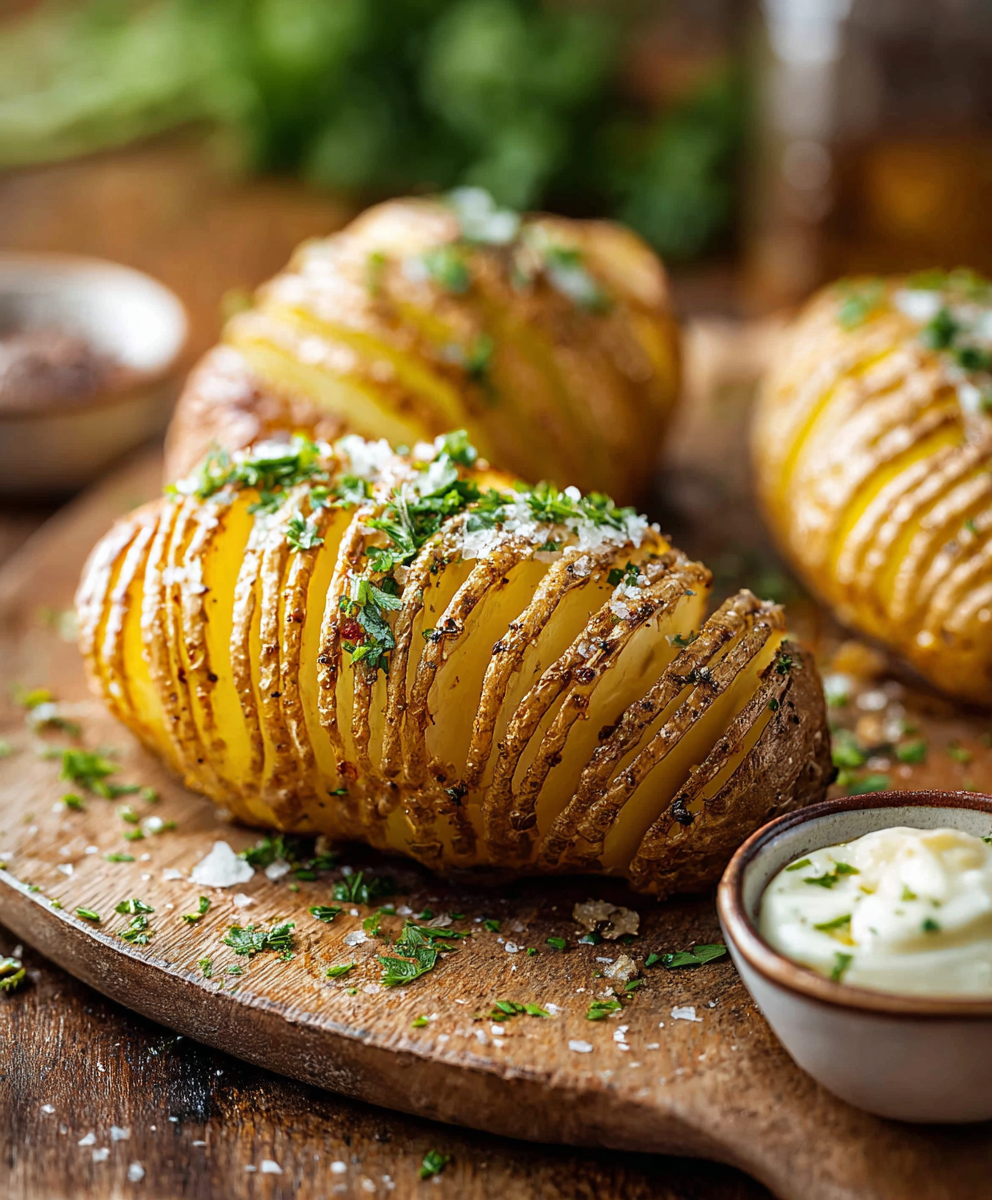
Thinly sliced, butter-brushed russet potatoes roasted until crisp on the edges and tender inside — a simple but impressive side everyone will ask for.

This version of Hasselback potatoes has been my favorite way to dress up humble russets for weeknight dinners and holiday spreads alike. I first learned the technique from a friend who served them at a small dinner party; the texture — crisp, fan-like edges giving way to a pillowy interior — felt like a little celebration on every plate. Since then I make them when I want something that looks special with very little fuss. The method is forgiving, and the few ingredients involved let the potato shine: butter, salt, and a careful bake make all the difference.
What makes these particularly memorable is how the slices caramelize at the edges while the inner layers steam gently, producing a contrast of textures that elevates a plain baked potato into something luxurious. I often catch myself nibbling the edges while plating, because those buttery, crisp pieces are impossible to resist. When my kids were small I served these with a bowl of sour cream for dipping; now they ask for them at family gatherings as a side to roasted meats or even a casual sandwich night. They’re a reliable crowd-pleaser that feels elevated without complicated steps.
I discovered a few personal tricks from repeated attempts: using chopsticks to guide the knife keeps the bottom intact, and brushing half the butter at the start ensures the slits absorb flavor early. The first time I served them at a holiday brunch, guests loved the crisp edges so much that everyone asked for seconds, and the leftover potatoes made an excellent breakfast the next morning.
My favorite aspect of this preparation is how adaptable it is: swap melted butter for oil and add minced garlic to the brush if you want an allium kick, or finish with a sprinkle of Parmesan for umami. The first time I added thin lemon zest and thyme, guests commented that the potatoes tasted bright and gourmet despite the minimal ingredients.
Store leftovers in an airtight container in the refrigerator for up to 3 days. Reheat in a 375°F oven on a baking sheet for 10–15 minutes to restore crispness rather than microwaving, which softens the edges. For longer storage, freeze cooled potatoes on a tray until solid, then transfer to a freezer bag for up to 3 months; reheat from frozen at 400°F for 20–25 minutes, watching so they don't overbrown. Use parchment or a silicone mat to prevent sticking when reheating.
If you prefer less dairy, substitute melted olive oil for butter and brush in the same way; the flavor will be fruitier and the color slightly different. For a richer finish, brush with melted ghee. Swap russets for Yukon Golds for a creamier interior and naturally buttery flavor; reduce baking time by about 10 minutes. If you want herbs, add chopped rosemary or thyme to the butter before brushing. For a cheesy variation, sprinkle grated Parmesan or aged cheddar in the final 10 minutes of baking.
Serve these as a centerpiece side with roasted chicken, grilled steak, or a pan-seared salmon fillet. Garnish with chopped parsley, chives, or a squeeze of lemon for brightness. For a casual meal, place them alongside a crisp green salad and a dollop of sour cream or garlic aioli. At brunch I top them with a soft-poached egg so the yolk spills into the slices for richness. They also pair well with roasted vegetables and simple steamed greens.
To streamline for busy weekdays, slice potatoes ahead and store them wrapped in damp paper towels in the refrigerator for up to 24 hours. Alternatively, par-bake until just tender, cool completely, and keep in the fridge; when ready to serve, brush with fresh butter and finish at 425°F for 10–15 minutes to re-crisp. Use shallow baking dishes for multiple potatoes so airflow promotes even browning, and label containers with the date if storing in the freezer.
In autumn, add a pinch of smoked paprika and thyme to the butter for a cozy, smoky flavor. For spring, finish with lemon zest and a scattering of fresh chives to lighten the dish. Around the holidays, layer thin slivers of garlic and rosemary between a few slices before baking to impart festive aromatics. The technique adapts beautifully to seasonal produce: serve with roasted root vegetables in winter or a bright quick pickle on the side in summer.
Readers often tell me these are the most-requested side at dinner parties because they look impressive but require minimal hands-on time. One friend served them at her wedding rehearsal dinner and received several compliments; another reader sent a photo of a weeknight spread where Hasselbacks were the only vegetable but became the highlight. I’ve learned that consistent slicing and a generous early butter baste are the two small details that produce the biggest impact.
Make these your own by experimenting with finishes and garnishes. Whether you keep them simple with just butter and salt or dress them up for company, they are a dependable, delicious addition to any meal — a food that feels special without demanding all day in the kitchen.
Use chopsticks or wooden skewers to prevent slicing through the bottom; this keeps the base intact and creates the classic fan shape.
Brush half the butter at the start and reserve the rest for the final bake to maximize both absorption and a glossy finish.
Reheat in a hot oven rather than a microwave to recover crisp edges; 375°F for 10–15 minutes works well.
If slices feel uneven, press gently between your fingers before baking to encourage even cooking.
This nourishing classic hasselback potatoes recipe is sure to be a staple in your kitchen. Enjoy every moist, high protein slice — it is perfect for breakfast or as a wholesome snack any time.
This Classic Hasselback Potatoes recipe makes perfectly juicy, tender, and flavorful steak every time! Serve with potatoes and a side salad for an unforgettable dinner in under 30 minutes.
Arrange an oven rack in the middle position and preheat to 425°F. Use an unlined baking sheet for direct heat and better crisping.
Position one potato between two chopsticks or wooden skewers. The sticks act as a guide and prevent slicing through the bottom.
Using a sharp knife, make 1/8-inch slices straight down until the knife hits the chopstick; aim for even spacing to promote uniform cooking.
Place potatoes on the baking sheet and brush with half the melted butter, including into the slits. Sprinkle with kosher salt and pepper.
Bake at 425°F for 30 minutes to begin browning the edges while allowing steam to soften inner layers. Look for light browning at the edges as a cue.
After 30 minutes, gently pull layers apart with a knife to let air enter. Brush remaining melted butter into the slits and over the tops.
Return to the oven and bake 30–35 minutes more, until edges are deeply golden and the center is tender when pierced with a skewer. Let rest 3–5 minutes before serving.
Last Step: Please leave a rating and comment letting us know how you liked this recipe! This helps our business to thrive and continue providing free, high-quality recipes for you.
Leave a comment & rating below or tag
@feedcooks on social media!

Turn classic crispy treats into creepily realistic Halloween brains—soft, glossy marshmallow centers bound to Rice Krispies, shaped and painted for maximum spooky impact.

A cozy, slow-cooked blend of tender chicken, crushed tomatoes, cream, and Parmesan—this Crock Pot creamy chicken parmesan soup is weeknight comfort made effortless.

Delicate baked cod fillets finished in a bright, silky coconut-lemon cream—an easy weeknight centerpiece that feels special enough for guests.
Leave a comment & rating below or tag @feedcooks on social media!
Enjoyed this recipe? Share it with friends and family, and don't forget to leave a review!
This recipe looks amazing! Can't wait to try it.
Comments are stored locally in your browser. Server comments are displayed alongside your local comments.

Join to receive our email series which contains a round-up of some of our quick and easy family favorite recipes.
