>>
30-MINUTE MEALS! Get the email series now →


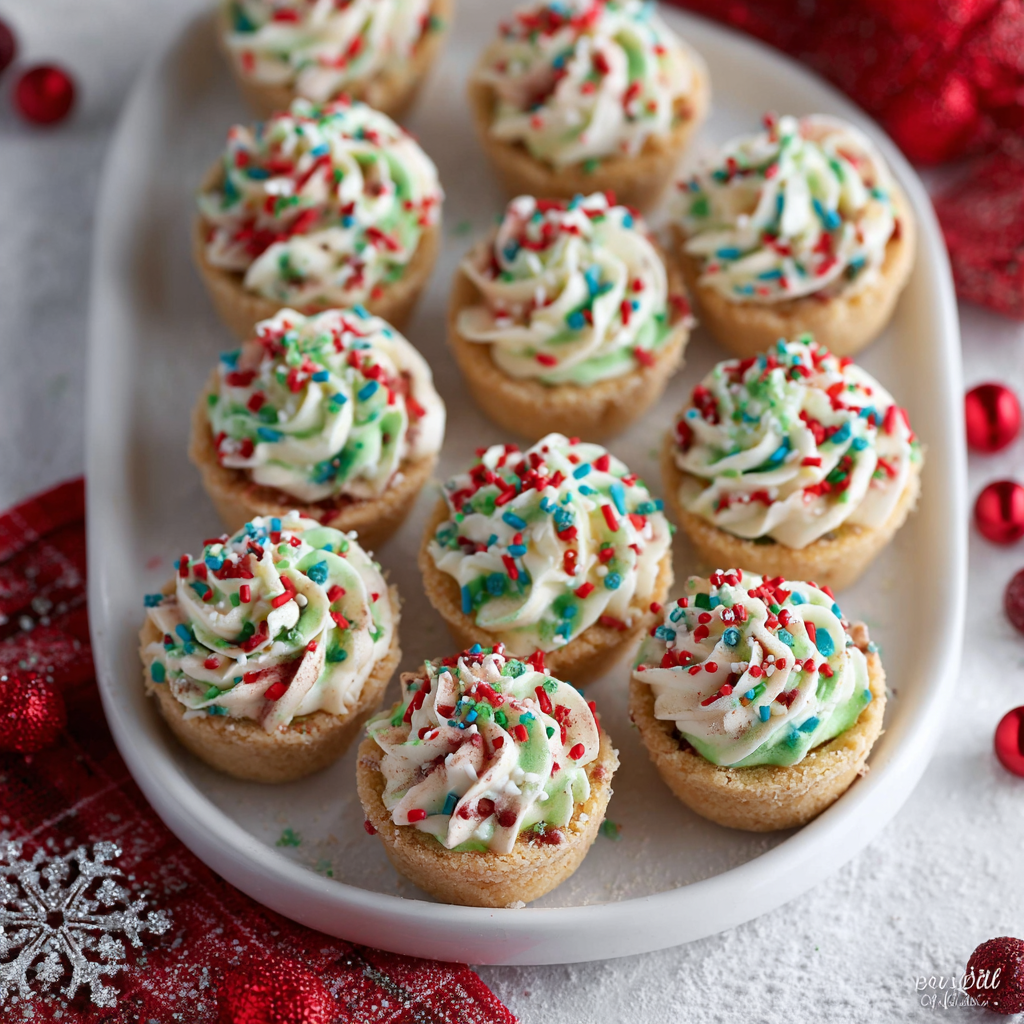
Buttery cookie cups filled with silky vanilla buttercream and topped with festive red and green sprinkles — a joyful, make-ahead holiday treat everyone will love.
In my experience, the most memorable moment is when guests bite into one and the frosting oozes slightly into the cookie's center — it’s the combination of textures and that little sprinkle surprise that earns second helpings. Family members often ask for these instead of traditional cut-out cookies; they feel celebratory and approachable at the same time.

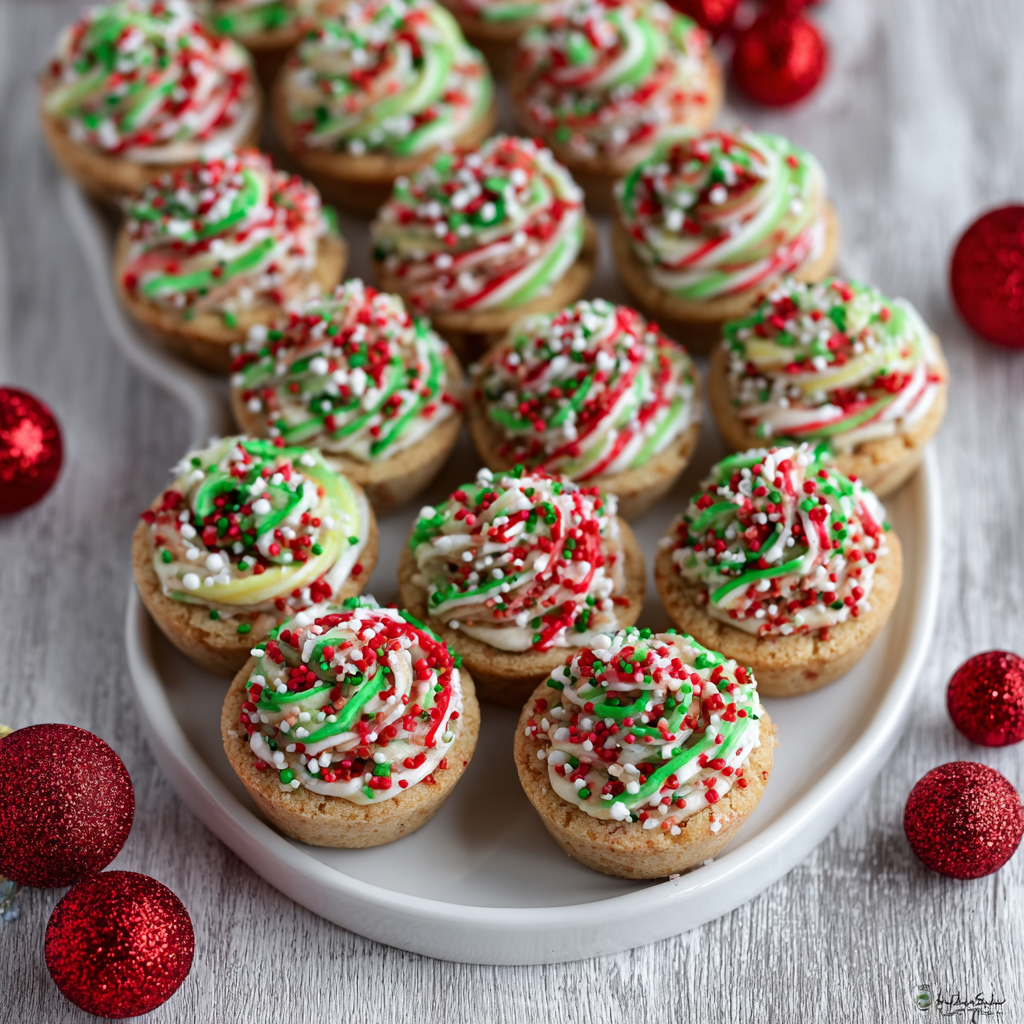
My favorite part is assembling the finished tray. Lining them on a cookie platter with a dusting of extra sprinkles looks like a little holiday confetti explosion, and guests always comment on how festive and tidy they are compared with traditional drop cookies.
Store filled cookie cups in an airtight container in the refrigerator for up to 4 days; bring to room temperature before serving for the best mouthfeel. For longer storage, freeze baked, unfilled cups in a single layer on a tray until firm, then transfer to a freezer bag for up to 3 months. Thaw at room temperature and fill with freshly made buttercream. If you want to keep them crisp, store unfilled cups at room temperature in a sealed tin for 3–4 days.
For a dairy-free version use vegan butter and a splash of almond milk in the frosting; keep in mind the texture may be slightly softer. To make them gluten-free, replace the flour with a 1-to-1 gluten-free baking blend and chill the dough a bit longer to help it hold. Egg replacers like aquafaba or a flax egg can work, though the finished cups may be a touch less tender. Swap vanilla for citrus zest or peppermint extract (start with 1/4 teaspoon) for holiday variations.
Arrange on a tiered platter for a holiday dessert table, or place individually in mini cupcake liners for grab-and-go parties. These pair delightfully with hot cocoa, spiced coffee, or a glass of cold milk. For an adult twist, top some with a spoonful of cream cheese frosting and a sprinkle of crushed candy cane. Garnish with edible gold dust for an upscale party presentation.
Cookie cups are a playful hybrid of traditional drop cookies and buttercream-filled confections, inspired by mid-20th-century American baking that favored portable, decorated sweets for community events and school functions. The use of sprinkles as a colorful garnish gained popularity in the U.S. in the 1950s when pre-colored decorations became widely available, and today they evoke nostalgia and celebration across many holiday traditions.
In winter, add a pinch of cinnamon to the dough and use peppermint or red velvet frosting for a festive palette. Spring celebrations call for pastel sprinkles and lemon or strawberry buttercream. For Thanksgiving, swap green and red sprinkles for orange and brown and finish with a maple or brown-butter frosting for a cozy seasonal flavor.
Make the dough one day ahead and keep it chilled; scoop shaped cups onto the tray and cover tightly until ready to bake. Bake the day of the event for the best texture, or bake ahead and freeze unfilled cups for convenience. Prepare the buttercream the morning of serving and store in the refrigerator; bring it back to room temperature and whip briefly before piping to restore fluffiness.
These little cups are equal parts practical and charming — they travel well, look festive, and bring a bit of homemade wonder to any holiday spread. I hope they become one of your favorite seasonal treats to make and share.
If dough becomes sticky, chill for 10–15 minutes; slightly firmer dough is easier to shape into cups.
To prevent color bleeding from sprinkles, fold them in gently and avoid overmixing the dough.
Pipe frosting while cups are slightly cool but not warm to prevent melting and maintain a neat finish.
Use a small spoon handle to re-press centers after baking if they puff up, ensuring a hollow for filling.
This nourishing christmas sprinkle cookie cups recipe is sure to be a staple in your kitchen. Enjoy every moist, high protein slice — it is perfect for breakfast or as a wholesome snack any time.
Yes. Bake the cups, cool, and freeze in a single layer until solid, then transfer to a freezer-safe container for up to 3 months. Thaw and fill with fresh frosting before serving.
Use a 24-cup mini muffin tin for bite-sized cups or a standard 12-cup muffin tin for larger cookie cups; adjust baking time by a few minutes if using larger tins.
This Christmas Sprinkle Cookie Cups recipe makes perfectly juicy, tender, and flavorful steak every time! Serve with potatoes and a side salad for an unforgettable dinner in under 30 minutes.
Preheat oven to 350°F (175°C). Grease a 24-cup mini muffin tin well or use liners so the cups release cleanly after baking.
Beat 1 1/4 cups softened butter with 1 1/2 cups powdered sugar until pale and fluffy, about 2–3 minutes. This step adds air and lightness to the shells.
Mix in 1 large egg and 1 teaspoon vanilla until fully incorporated, scraping the bowl to ensure even distribution.
Whisk 2 1/2 cups flour, 1 teaspoon baking powder, and 1/2 teaspoon salt. Add to the butter mixture in two additions and mix until just combined to avoid a tough texture.
Gently fold in 1/4 cup red and 1/4 cup green sprinkles. Chill 10 minutes if dough is soft. Press rounded tablespoonfuls into muffin cups making a small well in the center.
Bake at 350°F (175°C) for 12–14 minutes until edges are lightly golden and centers set. Rotate pan halfway through baking for even browning.
Cool in the pan for 5 minutes then transfer to a rack. Beat 1/2 cup softened butter with 2 1/2 cups powdered sugar, 1 teaspoon vanilla, 1/2 teaspoon salt, and 2–3 tablespoons milk until smooth.
Pipe or spoon buttercream into cooled cups and garnish with extra sprinkles. Chill briefly to set if desired before serving.
Last Step: Please leave a rating and comment letting us know how you liked this recipe! This helps our business to thrive and continue providing free, high-quality recipes for you.
Leave a comment & rating below or tag
@feedcooks on social media!

Turn classic crispy treats into creepily realistic Halloween brains—soft, glossy marshmallow centers bound to Rice Krispies, shaped and painted for maximum spooky impact.

A cozy, slow-cooked blend of tender chicken, crushed tomatoes, cream, and Parmesan—this Crock Pot creamy chicken parmesan soup is weeknight comfort made effortless.

Delicate baked cod fillets finished in a bright, silky coconut-lemon cream—an easy weeknight centerpiece that feels special enough for guests.
Leave a comment & rating below or tag @feedcooks on social media!
Enjoyed this recipe? Share it with friends and family, and don't forget to leave a review!
This recipe looks amazing! Can't wait to try it.
Comments are stored locally in your browser. Server comments are displayed alongside your local comments.

Join to receive our email series which contains a round-up of some of our quick and easy family favorite recipes.
