
Christmas Pinwheel Cookies

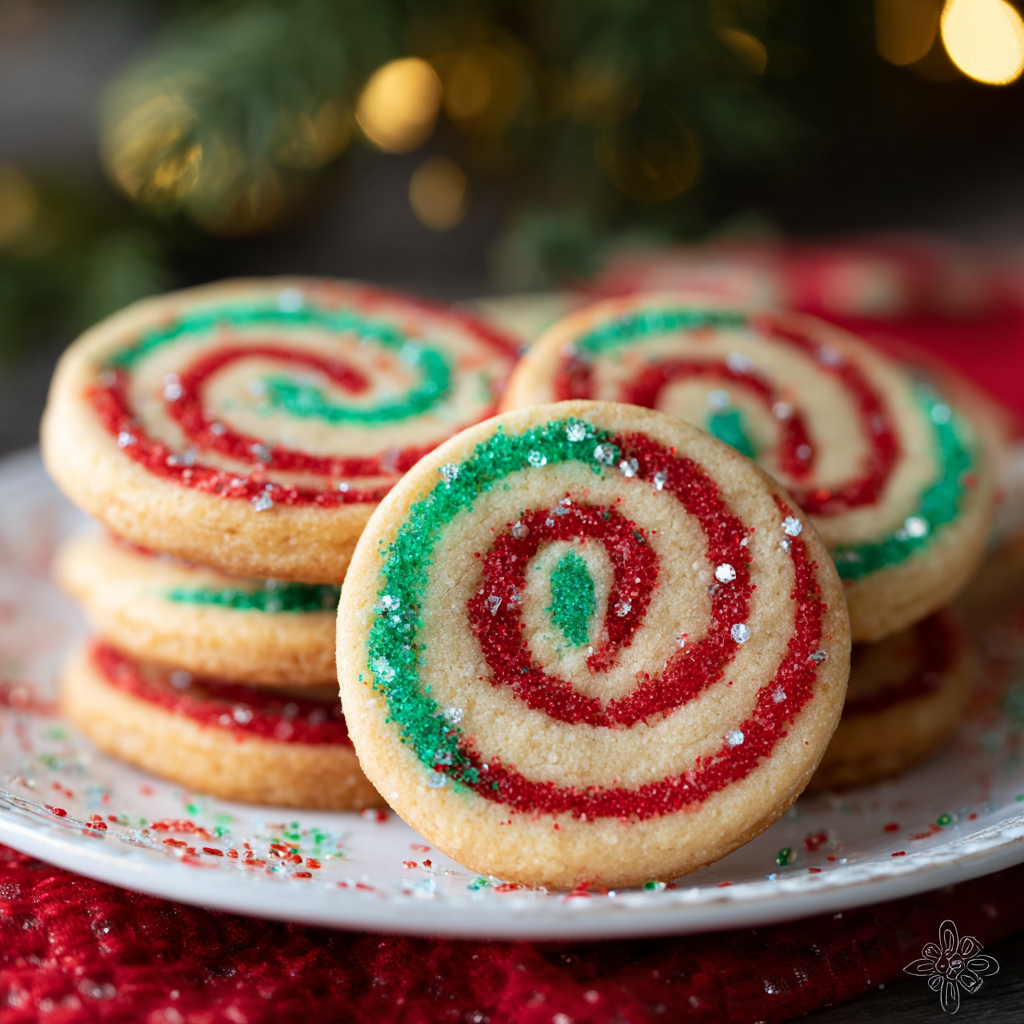
Festive red, green, and vanilla pinwheel cookies: buttery, tender rounds with a cheerful spiral — perfect for holiday cookie trays and gifting.

This batch of Christmas pinwheel cookies has been my holiday staple for years and I make them every December because they always spark a smile. I first discovered this approach while experimenting with a basic sugar cookie dough one December afternoon; I wanted something that looked impressive on a cookie tray but stayed tender and simple enough for weeknight baking. The spiral of red, green, and plain dough produces a crisp visual contrast that belies how soft and buttery each bite is. Kids in my family call them "holiday swirls," and the look always prompts enthusiastic requests for seconds.
The texture is slightly crisp at the edges with a melt-in-your-mouth tender center; the light vanilla flavor lets the buttery dough shine without being overly sweet. I love that these cookies are forgiving — the dough holds up well to rolling and slicing, and the chill times make assembly calm and predictable. They’re also a joy to make with helpers: shaping the squares and rolling them into the pinwheel is a satisfying, almost meditative step that yields beautiful cookies every time.
Why You'll Love This Recipe
- Elegant appearance with minimal effort: the red and green spirals look bakery-made but rely on a simple three-color assembly method that’s easy to follow.
- Uses pantry staples like butter, sugar, flour, and vanilla — no specialty ingredients required, so you can start right away.
- Make-ahead friendly: dough can be chilled for several hours or frozen, making these ideal for holiday prep and cookie exchanges.
- Kid- and crowd-pleasing: mild vanilla flavor and a tender crumb make them widely appealing for all ages.
- Quick bake time: individual cookies bake in about 10 to 12 minutes, so you can produce large trays without long oven sessions.
I still remember the first time I brought these to a neighborhood cookie swap — they were the first plate emptied. My aunt complimented the texture and my nephew loved counting the spirals. Over the years I’ve learned small adjustments (chill times, exact roll size) that consistently deliver neat slices and even baking.
Ingredients
- Unsalted butter (2/3 cup): Use high-quality European-style butter if possible for a richer mouthfeel; softened to room temperature so it creams smoothly with sugar.
- Granulated sugar (2/3 cup): Regular white sugar gives the classic texture and structure; measure by spooning into a cup and leveling for accuracy.
- Egg (1): Large egg at room temperature helps with emulsion and provides lift; if cold, warm in a bowl of warm water 5 minutes.
- Vanilla extract (1 teaspoon): Pure vanilla enhances the buttery flavor — I prefer Nielsen-Massey or similar pure extracts for the clean aroma.
- All-purpose flour (1 3/4 cups): Spoon and level into a measuring cup for consistency; gives structure while keeping crumbs tender.
- Kosher salt (1/2 teaspoon): Balances sweetness and highlights butter; use Diamond Crystal or adjust slightly if using fine table salt.
- Baking soda (1/4 teaspoon): Small amount ensures a tender lift without excessive spread.
- Red and green gel food coloring: Gel colors provide vivid hues without extra liquid; add gradually until you get the desired intensity.
- Red sanding sugar (to garnish): Optional for sparkle and a little crunch; sprinkle on edges before baking for festive shine.
Instructions
Prepare the dough: Add 2/3 cup softened unsalted butter and 2/3 cup granulated sugar to the bowl of a stand mixer fitted with the paddle attachment. Beat at medium speed until pale and creamy, about 3 to 4 minutes — you want the sugar to be well integrated and the mixture to hold a soft ribbon when lifted. Add 1 large egg and 1 teaspoon vanilla extract, beat until combined, and scrape down the sides of the bowl occasionally to ensure even mixing. Combine dry ingredients: In a medium bowl, whisk together 1 3/4 cups all-purpose flour, 1/2 teaspoon kosher salt, and 1/4 teaspoon baking soda. With the mixer on low speed, add the dry mixture gradually to the butter mixture and beat just until incorporated. Overmixing develops gluten and will make the cookies tough, so stop when no streaks of flour remain. Divide and color: Turn the dough out onto a clean surface and divide it into three equal portions. Return the first portion to the clean mixing bowl and add a few drops of red gel food coloring; beat until the color is even. Wipe the bowl, then color the second portion with green gel the same way. Leave the third portion uncolored. Shape each portion into a ball, wrap individually in plastic wrap, and refrigerate for 1 hour to firm up the dough for rolling. Roll into squares: Remove chilled dough and, between two sheets of parchment, roll each ball into a 7-inch square. Keep the three squares similar in thickness (about 1/8 to 1/4 inch). Chill the rolled squares for 15 minutes between parchment sheets — this prevents sticking and helps maintain clean edges when stacking. Assemble the spiral: Carefully peel parchment from one side of each square. Stack the three squares on top of each other, aligning the edges (order is up to you; I usually place plain, green, then red on top for a bright outer spiral). Use the parchment to help you press gently and smooth the layers so they adhere. Trim the stacked rectangle to neaten the edges if necessary, then roll tightly from one side to form a log about 7 inches long. Wrap the log tightly in plastic wrap and chill for at least 1 hour, or until very firm. For best slicing, freeze the log for 20 to 30 minutes if your dough is still slightly soft. Slice and bake: Preheat the oven to 350 degrees F (175 degrees C). Line baking sheets with parchment. Unwrap the chilled log and slice into 1/4-inch thick rounds using a sharp knife; wipe the knife between cuts for clean spirals. Arrange rounds 1 inch apart on baking sheets. If desired, dip the edges lightly into red sanding sugar or sprinkle on top. Bake 10 to 12 minutes until edges are set but centers remain pale — watch carefully to avoid browning, which changes the tender texture. Cool on the sheet for 3 minutes, then transfer to a wire rack to cool completely.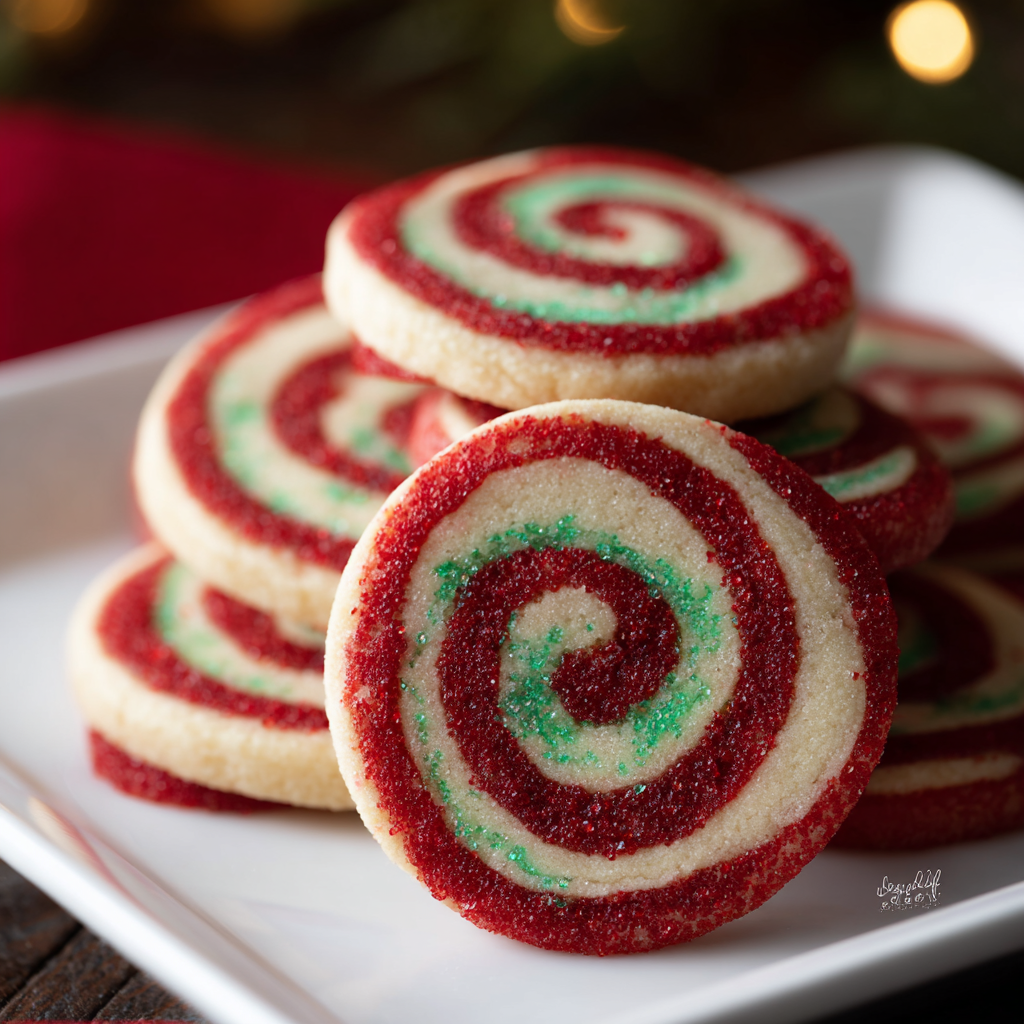
You Must Know
- These cookies keep well in an airtight container at room temperature for up to 5 days or in the refrigerator for 2 weeks; freeze unbaked slices on a tray and transfer to a freezer bag for up to 3 months.
- Chilling is key: both the initial dough chill and the post-assembly chill ensure clean slices and minimal spreading during baking.
- Nutrition note: treats are moderate in calories and rich in butter; enjoy in moderation or share to spread the joy.
- Edge finishing with sanding sugar adds sparkle and a slight crunch but is optional — they are delightful plain.
My favorite part of making these is the assembly: rolling the stacked squares and watching a tidy log transform into a perfect swirl is genuinely satisfying. Family members often crowd the kitchen to watch the first slices come off the log — it’s a small holiday ritual that always feels festive and calm.
Storage Tips
Store fully cooled cookies in an airtight container layered with parchment to prevent sticking. At room temperature they stay fresh for up to five days; if you need longer storage, refrigerate for up to two weeks or freeze for up to three months. For freezing, arrange baked cookies in a single layer on a tray to freeze solid, then transfer to a labeled freezer bag. To reheat frozen cookies, thaw at room temperature for 30 minutes; a 5- to 7-second zap in the microwave on low can revive that fresh-baked softness without making them soggy.
Ingredient Substitutions
If you want a lighter spread, swap half the butter for high-quality margarine, though flavor will be slightly different. For egg-free households, replace the egg with 1/4 cup applesauce plus an extra 1/4 teaspoon baking soda to help lift, but expect a slightly cakier texture. To make these nut-free, avoid almond extracts and nut flours; to add subtle flavor variation, use 1/2 teaspoon orange zest in the plain dough for a citrus twist that complements the vanilla nicely.
Serving Suggestions
Arrange the pinwheels on a tiered holiday tray with sprigs of rosemary and cranberries for color contrast. Pair with tea or hot cocoa — their buttery crumb is excellent with warm drinks. For cookie exchange packaging, nestle slices in parchment-lined tins or cellophane bags tied with festive ribbon. They also make charming edible gifts when stacked in clear boxes with a ribbon and a handwritten note.
Cultural Background
The spiral cookie concept draws from classic European rolled dough techniques where layered colors or flavors are rolled into logs and sliced. Pinwheel shapes became popular in American holiday baking for their visual appeal and simplicity, evolving into a festive tradition in many households. These cookies embody the seasonal desire for cheerful presentation combined with homely, buttery flavors that are synonymous with winter celebrations across North America.
Seasonal Adaptations
Beyond red and green, adapt colors and flavors for other celebrations: use pastel gels for spring, cocoa in one layer for a mocha swirl, or lemon gel and zest for a bright summer spin. Spiced versions (add 1/2 teaspoon cinnamon or orange spice blend to one layer) work beautifully for Thanksgiving. For New Year’s, gold sanding sugar adds a celebratory shimmer.
Meal Prep Tips
To prep ahead for busy holiday days, make and chill the assembled logs up to 48 hours in advance; slice and freeze the rounds on a tray so you can pop frozen slices onto a sheet and bake directly from frozen, adding 1 to 2 minutes to the bake time. Label and date containers so you can rotate batches easily. Keep a small cutting board and a very sharp knife nearby for quick, clean slices during baking sessions.
These pinwheel cookies are a joyful project that rewards small investments of time with visually impressive results. Whether you’re sharing at a potluck or packing them for neighbors, they bring warmth and cheer to holiday gatherings — and once you make a few logs, you’ll find the process becomes quick and habitual in your seasonal baking routine.
Pro Tips
Chill the assembled log until firm before slicing to maintain clean spirals and prevent distortion.
Use gel food coloring to avoid adding extra liquid that can change dough consistency.
If slices crumble, chill the log again or freeze for 15 minutes before slicing for neater edges.
Wipe the knife between cuts to keep each slice tidy and avoid color smearing.
This nourishing christmas pinwheel cookies recipe is sure to be a staple in your kitchen. Enjoy every moist, high protein slice — it is perfect for breakfast or as a wholesome snack any time.
Tags
Christmas Pinwheel Cookies
This Christmas Pinwheel Cookies recipe makes perfectly juicy, tender, and flavorful steak every time! Serve with potatoes and a side salad for an unforgettable dinner in under 30 minutes.
Instructions
Cream butter and sugar
Beat 2/3 cup softened unsalted butter with 2/3 cup granulated sugar in a stand mixer for 3 to 4 minutes until pale and creamy. Add 1 large egg and 1 teaspoon vanilla extract and mix until combined, scraping the bowl as needed.
Mix dry ingredients
Whisk together 1 3/4 cups all-purpose flour, 1/2 teaspoon kosher salt, and 1/4 teaspoon baking soda in a bowl. With the mixer on low, gradually add to the wet mixture and mix until just combined to avoid overworking the dough.
Divide and color dough
Divide dough into three equal portions. Color one portion red and one portion green using gel food coloring, leaving the third plain. Shape each into a ball, wrap, and refrigerate for 1 hour.
Roll into squares and chill
Between parchment sheets, roll each portion into a 7-inch square. Chill the rolled squares for 15 minutes to firm up before stacking and assembling to prevent slippage.
Stack, roll, and chill log
Stack the three squares aligned, roll tightly into a 7-inch log, wrap in plastic, and refrigerate for at least 1 hour or freeze for 20 to 30 minutes until very firm.
Slice and bake
Preheat oven to 350 degrees F. Slice the chilled log into 1/4-inch rounds, place on parchment-lined baking sheets 1 inch apart, and bake 10 to 12 minutes until edges are set. Cool on the sheet for 3 minutes, then transfer to a wire rack.
Last Step: Please leave a rating and comment letting us know how you liked this recipe! This helps our business to thrive and continue providing free, high-quality recipes for you.
Nutrition
Did You Make This?
Leave a comment & rating below or tag
@feedcooks on social media!
Categories:
You might also like...

Marshmallow Rice Krispies Halloween Brains
Turn classic crispy treats into creepily realistic Halloween brains—soft, glossy marshmallow centers bound to Rice Krispies, shaped and painted for maximum spooky impact.

Crock Pot Creamy Chicken Parmesan Soup
A cozy, slow-cooked blend of tender chicken, crushed tomatoes, cream, and Parmesan—this Crock Pot creamy chicken parmesan soup is weeknight comfort made effortless.

Baked Cod in Coconut Lemon Cream Sauce
Delicate baked cod fillets finished in a bright, silky coconut-lemon cream—an easy weeknight centerpiece that feels special enough for guests.
Did You Make This?
Leave a comment & rating below or tag @feedcooks on social media!
Rate This Recipe
Share This Recipe
Enjoyed this recipe? Share it with friends and family, and don't forget to leave a review!
Comments (1)
This recipe looks amazing! Can't wait to try it.
Comments are stored locally in your browser. Server comments are displayed alongside your local comments.

Hi, I'm Lena!
What's Popular

30-Minute Meals!
Join to receive our email series which contains a round-up of some of our quick and easy family favorite recipes.