
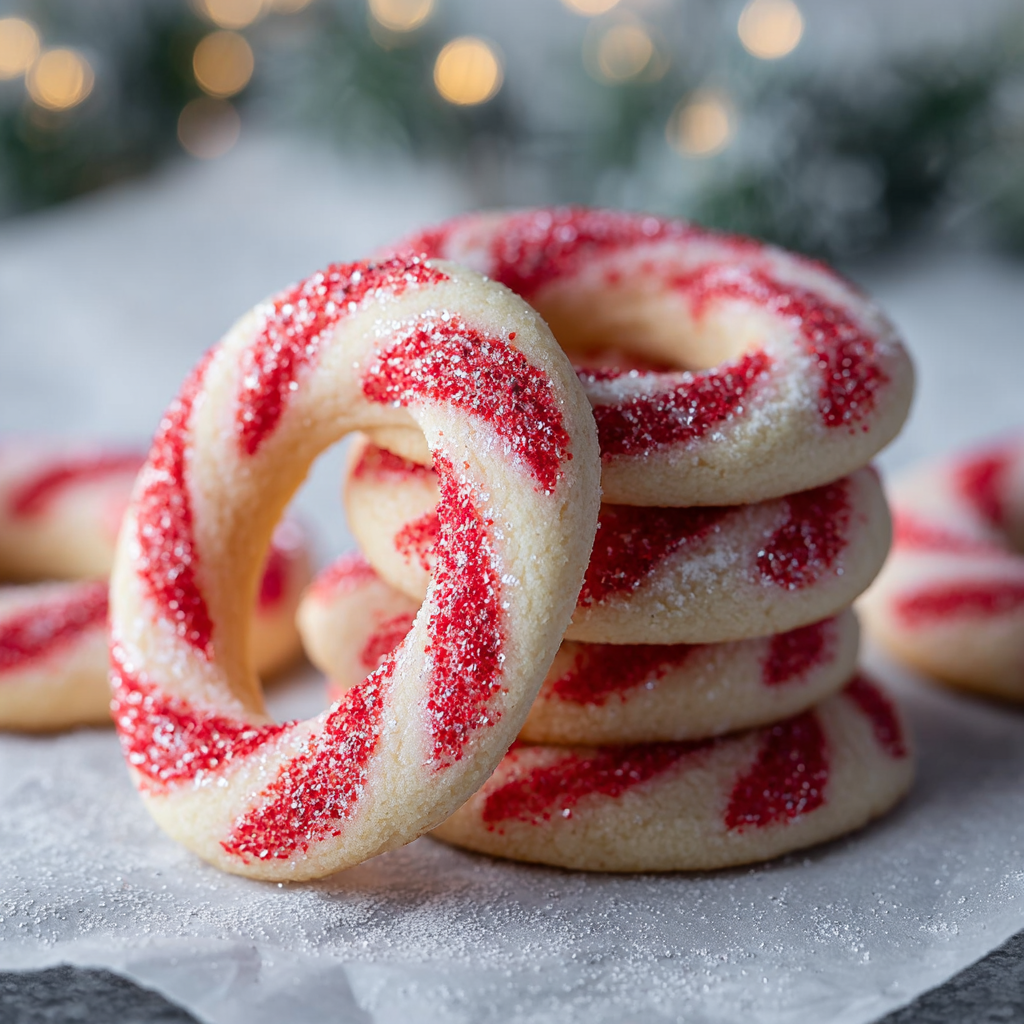
Candy Cane Cookies

Buttery, tender candy cane-shaped cookies with a hint of peppermint — perfect for holiday baking, cookie exchanges, and gift tins.
This holiday-season favorite has become my go-to for festive cookie plates and neighbor gifts. I first developed this candy cane technique when I wanted a cookie that looked impressive but didn’t require complicated cutters or chilling. The combination of a rich, buttery base and a whisper of peppermint creates a cookie that’s tender, slightly crisp at the edges, and pleasantly aromatic. I remember shaping these at my kitchen island one December evening with carols playing and a cup of coffee warming my hands — small, simple interruptions that made the baking feel cozy and celebratory.
What makes these particularly special is the texture: the dough bakes into a soft interior with gently golden bottoms, while the peppermint brightens the flavor so the cookie never feels cloyingly sweet despite using powdered sugar. The visual impact — the red-and-white twist bent into candy cane shapes — always draws smiles from family and friends. These are fast to make, easy to share, and durable enough to transport in a tin without losing their shape.
Why You'll Love This Recipe
- Ready in about 30 minutes from start to finish: no long chill time, minimal hands-on shaping, and quick 8–10 minute baking.
- Uses pantry-friendly staples like butter, powdered sugar, and all-purpose flour — perfect for last-minute baking.
- Make-ahead and freezing friendly: shaped ropes can be frozen on a tray, then baked straight from frozen for convenience.
- Crowd-pleasing presentation: eye-catching red-and-white twist requires no special cutters and is great for cookie exchanges and gift tins.
- Flexible flavor: keep it classic with peppermint or swap extracts for almond or orange for seasonal twists.
- Kid-friendly shaping: rolling short ropes and twisting is an easy activity to include children in the process.
In my experience, these cookies consistently get requests for seconds. My neighbors loved a batch I delivered last year; one mentioned they tasted like the holidays in cookie form. I discovered a few small shaping tricks that make the twist neat and prevent breakage, and I share those in the instructions below to help you achieve uniform, attractive results every time.
Ingredients
- Unsalted butter (1 cup): Use high-quality butter such as Plugrá or Kerrygold if possible — higher butterfat improves flavor and texture. Butter should be softened to room temperature so it creams smoothly with powdered sugar and creates a tender crumb.
- Powdered sugar (1 cup): Also called confectioners' sugar; it dissolves into the butter, producing a silky, tender dough. Sift if clumpy for best texture.
- Large egg (1): Brings structure and moisture; use at room temperature so it emulsifies smoothly into the butter and helps the dough bind without becoming greasy.
- Vanilla extract (1 tsp): Adds warm background flavor — use pure vanilla extract for best depth.
- Peppermint extract (1/2 tsp): Provides the bright mint note that makes these cookies festive; reduce to 1/4 tsp if you prefer a subtler peppermint.
- All-purpose flour (2 1/2 cups): Standard flour provides structure. Spoon and level when measuring for accuracy, or weigh if you prefer precision.
- Salt (1/2 tsp): Balances sweetness and enhances the butter and peppermint.
- Red food coloring (gel): Gel color gives a vivid stripe without adding too much liquid; use sparingly to reach a cherry-red hue.
Instructions
Prep the oven and pans: Preheat to 375°F (190°C). Line baking sheets with parchment paper or silicone mats to ensure even bottoms and easy removal. Arrange racks in the middle third of the oven so heat circulates evenly. If you’re baking multiple sheets, rotate midway through baking for consistent color. Cream the butter and sugar: In a stand mixer fitted with the paddle or in a large bowl with a hand mixer, beat 1 cup softened unsalted butter and 1 cup powdered sugar on medium-high for 3–4 minutes until noticeably lighter in color and airy. This incorporates air and creates a tender finished texture; scrape the bowl occasionally so everything mixes evenly. Add egg and extracts: Beat in 1 large room-temperature egg, then add 1 tsp vanilla extract and 1/2 tsp peppermint extract. Mix until fully combined and smooth — the egg will create a glossy emulsion and help the dough bind without becoming oily. Incorporate dry ingredients: Sift or whisk together 2 1/2 cups all-purpose flour and 1/2 tsp salt. With the mixer on low, add the dry mix gradually to the wet until a soft dough forms. The dough should be cohesive and soft, not sticky; if it feels overly sticky due to humidity, add up to 1 tablespoon more flour at a time. Divide and color: Turn the dough onto a lightly floured surface and divide into two equal portions. Add gel red food coloring to one half and knead gently until the color is uniform — use a small amount of powdered sugar if the colored half becomes slightly sticky. Keep the uncolored half white. Shape the candy canes: Pinch off equal small portions — about 1 teaspoon of each color per cookie. Roll each portion into a 4-inch rope, placing a red rope and a white rope side by side. Press lightly and twist into a spiral. Bend the top to form the cane hook. If seams are obvious, press lightly with the side of your hand to seal for clean edges. Bake and cool: Arrange shaped canes on prepared sheets with at least 1 inch between them. Bake 8–10 minutes, watching for lightly golden bottoms — the tops should remain pale. Let cool on the baking sheet for about 5 minutes to firm up, then transfer to a wire rack to cool completely.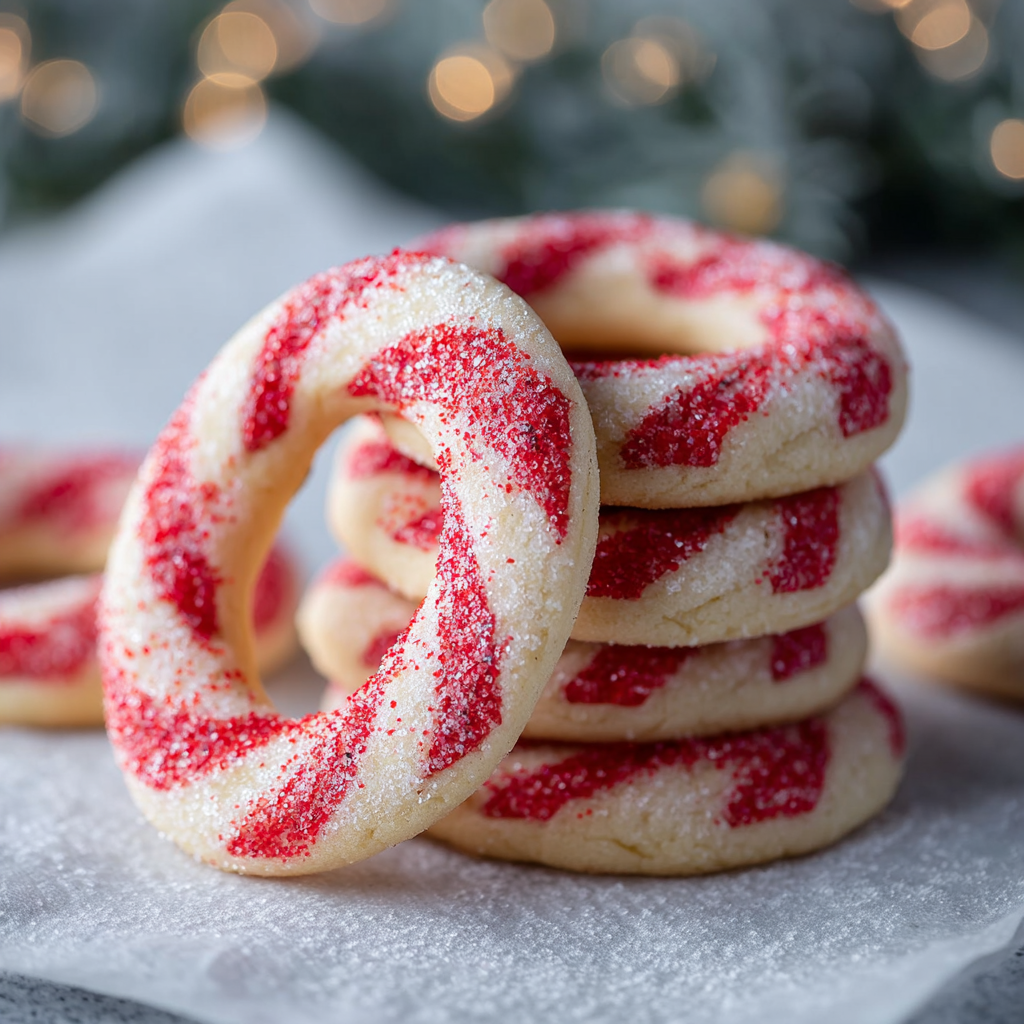
You Must Know
- These keep well at room temperature in an airtight tin for up to 5 days and freeze for up to 3 months when stored in a freezer-safe container.
- Because the recipe uses powdered sugar, the cookies are tender and slice cleanly; avoid overworking dough to prevent toughness.
- Visible color contrast is best achieved with gel food coloring — liquid dyes can change dough consistency.
- High humidity will soften cookies; store with a piece of parchment between layers and a packet of dry rice in the tin for longer crispness.
My favorite part is how quickly these come together and how festive they look on a cookie platter. Last year, I sat with friends and we assembled a dozen together while chatting — it’s a great social bake. When company arrives unexpectedly, this dough takes under half an hour to transform into a charming plate of cookies.

Storage Tips
Store fully cooled cookies in an airtight container at room temperature for up to 5 days. Layer with parchment paper to prevent sticking. For longer storage, freeze in a single layer on a tray until solid, then transfer to a freezer bag or container; freeze for up to 3 months. To thaw, let cookies come to room temperature in their container to avoid condensation. If you prefer slightly softened cookies, microwave a cookie for 6–8 seconds on low power — it restores a just-baked tenderness.
Ingredient Substitutions
Butter can be replaced with European-style butter for a richer flavor; reduce added salt if using salted butter. Powdered sugar may be substituted with granulated sugar processed to a powder in a blender, but use a little cornstarch to mimic commercial confectioners' sugar. For a dairy-free version, use a vegan butter stick and replace the egg with a flax egg (1 tablespoon ground flax + 3 tablespoons water), although texture will be slightly firmer. Peppermint extract can be swapped for almond extract (use 1/2 tsp) or 1 tsp of orange zest for a citrus twist.
Serving Suggestions
These are perfect with hot cocoa, coffee, or mulled cider. Arrange them standing in a wide mug for a whimsical dessert presentation or tuck three into cellophane and tie with ribbon for gifts. They pair especially well with a slice of dense fruitcake or a creamy cheesecake to balance the mint. Garnish trays with holly sprigs or edible glitter for festive occasions.
Cultural Background
Candy cane-shaped baked goods are a playful holiday adaptation of the classic hard candy cane, which dates back to 17th-century Europe as a shepherd’s staff-shaped treat. Turning the shape into a butter cookie is a modern, Americanized twist that combines nostalgic candy imagery with traditional cookie-making techniques. The peppermint flavor nods to the candy cane’s signature taste while creating a softer, home-baked experience enjoyed across many households during winter celebrations.
Seasonal Adaptations
In winter, emphasize peppermint and deep red coloring; for spring, use pastel colors and swap peppermint for lemon or vanilla. For Valentine’s Day, tint dough pink and add a drop of almond extract. During holiday cookie swaps, sprinkle crushed candy cane shards on top after baking for extra crunch — press gently into warm cookies so shards adhere without melting the colors.
Meal Prep Tips
Shape ropes in bulk and flash-freeze on trays. Once solid, store in freezer bags; bake from frozen adding 1–2 minutes to bake time. Alternatively, make dough, portion into logs, wrap tightly, and refrigerate for up to 3 days. For baking multiple sheets, pre-shape and arrange on parchment, then freeze assembled pans and bake as needed for fresh presentation. This approach speeds holiday hosting and ensures consistent size and bake.
These little candy cane cookies bring a lot of cheer with minimal fuss: they’re fast, visually striking, and reliably delicious. Whether you’re baking with kids, preparing tins for neighbors, or building a show-stopping cookie platter, this method delivers consistent results and plenty of holiday spirit.
Pro Tips
Use gel red food coloring to maintain dough consistency and achieve vivid color without adding extra moisture.
Chill shaped ropes briefly (10 minutes) if they start to soften while you work — this prevents flattening in the oven.
Bake on middle rack and rotate pans once halfway for even color and consistent bottoms.
This nourishing candy cane cookies recipe is sure to be a staple in your kitchen. Enjoy every moist, high protein slice — it is perfect for breakfast or as a wholesome snack any time.
Tags
Candy Cane Cookies
This Candy Cane Cookies recipe makes perfectly juicy, tender, and flavorful steak every time! Serve with potatoes and a side salad for an unforgettable dinner in under 30 minutes.
Instructions
Prep oven and pans
Preheat oven to 375°F (190°C). Line baking sheets with parchment paper or silicone baking mats. Position oven rack in middle third for even heat distribution.
Cream butter and sugar
In a mixer, beat 1 cup softened unsalted butter and 1 cup powdered sugar on medium-high for 3–4 minutes until light and fluffy, scraping down the bowl once.
Add egg and extracts
Beat in 1 large room-temperature egg, then add 1 teaspoon vanilla extract and 1/2 teaspoon peppermint extract. Mix until fully incorporated and smooth.
Mix dry ingredients
Whisk together 2 1/2 cups all-purpose flour and 1/2 teaspoon salt. With mixer on low, gradually add dry mix until a soft dough forms — it should be soft but not sticky.
Divide and color
Divide dough into two equal portions. Knead gel red food coloring into one portion until evenly colored, keeping the other portion white. Use powdered sugar if needed to prevent stickiness.
Shape ropes and twist
Pinch off about 1 teaspoon of each color and roll into 4-inch ropes. Place red and white ropes side by side, press lightly, and twist into a spiral. Bend the top to form the cane shape.
Bake and cool
Place shaped cookies 1 inch apart on prepared sheets. Bake 8–10 minutes until bottoms are lightly golden. Cool 5 minutes on the pan, then transfer to a wire rack to cool completely.
Last Step: Please leave a rating and comment letting us know how you liked this recipe! This helps our business to thrive and continue providing free, high-quality recipes for you.
Nutrition
Did You Make This?
Leave a comment & rating below or tag
@feedcooks on social media!
Categories:
You might also like...

Marshmallow Rice Krispies Halloween Brains
Turn classic crispy treats into creepily realistic Halloween brains—soft, glossy marshmallow centers bound to Rice Krispies, shaped and painted for maximum spooky impact.

Crock Pot Creamy Chicken Parmesan Soup
A cozy, slow-cooked blend of tender chicken, crushed tomatoes, cream, and Parmesan—this Crock Pot creamy chicken parmesan soup is weeknight comfort made effortless.

Baked Cod in Coconut Lemon Cream Sauce
Delicate baked cod fillets finished in a bright, silky coconut-lemon cream—an easy weeknight centerpiece that feels special enough for guests.
Did You Make This?
Leave a comment & rating below or tag @feedcooks on social media!
Rate This Recipe
Share This Recipe
Enjoyed this recipe? Share it with friends and family, and don't forget to leave a review!
Comments (1)
This recipe looks amazing! Can't wait to try it.
Comments are stored locally in your browser. Server comments are displayed alongside your local comments.

Hi, I'm Lena!
What's Popular

30-Minute Meals!
Join to receive our email series which contains a round-up of some of our quick and easy family favorite recipes.