>>
30-MINUTE MEALS! Get the email series now →


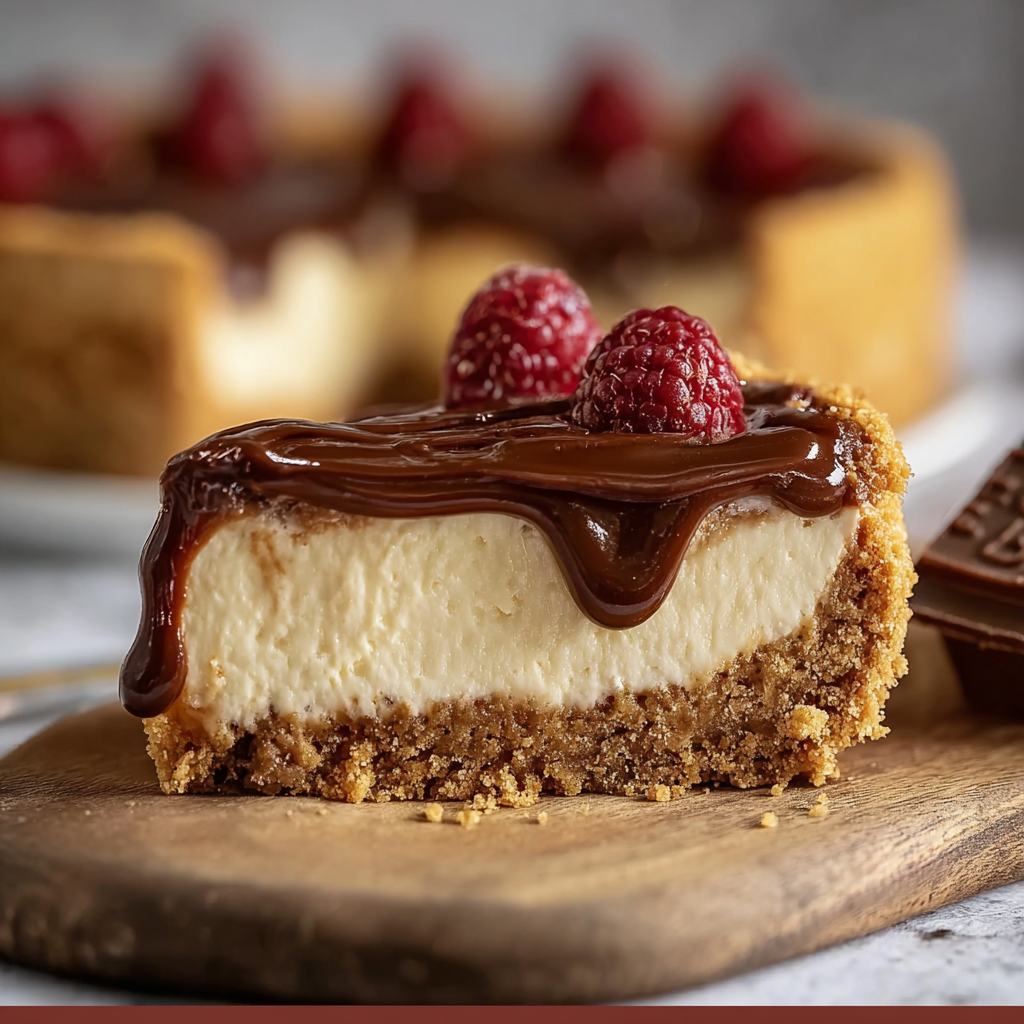
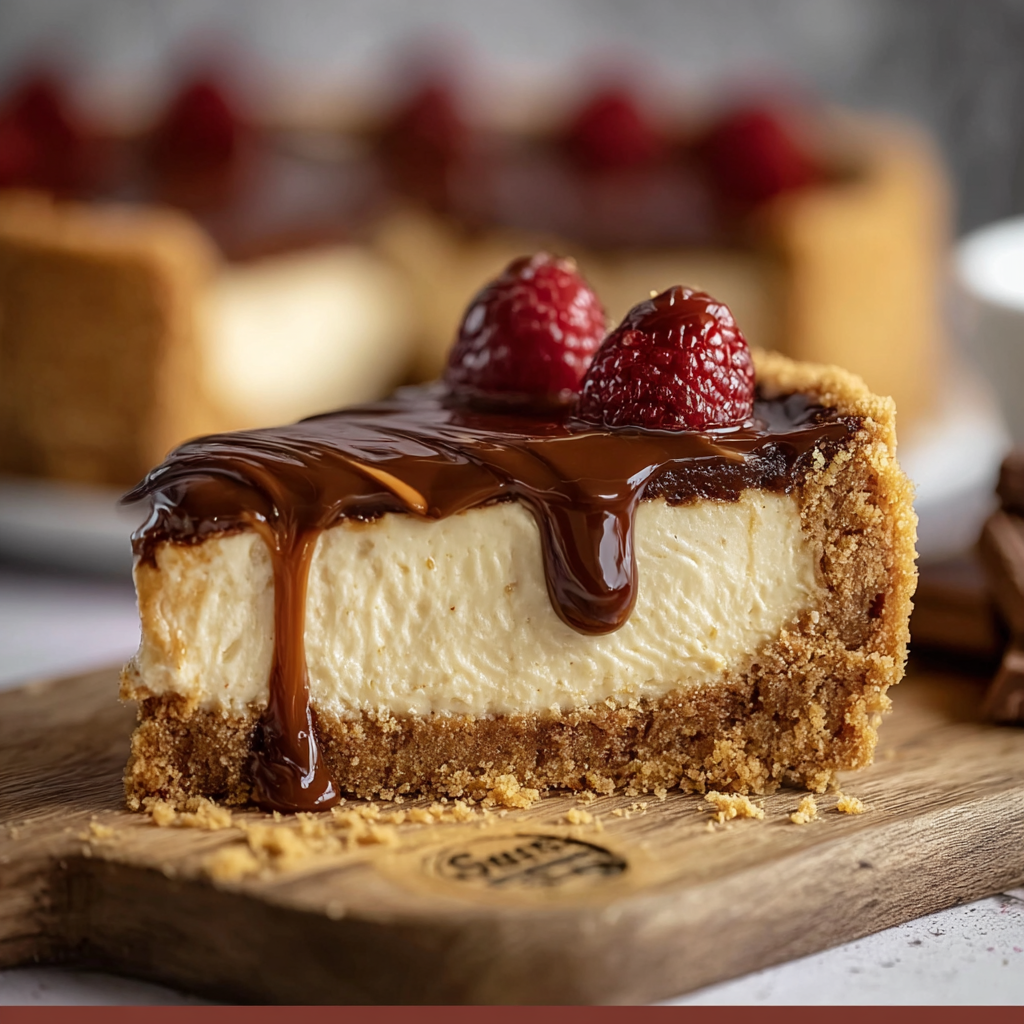
A luscious no-bake cheesecake layered with Biscoff crumbs and cookie butter — creamy, quick to assemble, and perfect for sharing.

This Biscuev no-bake cheesecake has been a celebration staple in my kitchen since the first time I combined cookie butter with silky cream cheese. I discovered this combination on a rainy Sunday when pantry staples and a craving for something indulgent collided. What started as a quick dessert experiment quickly became the thing guests asked for when they knew I was hosting. The texture is an irresistible contrast: a crunchy, spiced base and a pillowy, dense filling that melts on the tongue.
What makes this version special is the way the Biscoff flavor carries through every layer. Instead of masking the cookie spread, I emphasize it—marrying it with just the right amount of powdered sugar and vanilla to balance sweetness without becoming cloying. The experience is rich but approachable: each bite recalls cinnamon-spiced caramelized biscuits, with the coolness of the filling tempering the sugar. On Feed Cooks I love recommending this when readers need an elegant dessert without oven time; it’s reliable, fast to assemble, and ideal for last-minute celebrations or weekend indulgences.
Personally, the first time I served this, my neighbor knocked on the door with a bottle of wine — a spontaneous trade for dessert. My family’s reaction was instant and unanimous: seconds for everyone. Over time I adjusted the sugar and whipped cream ratio to hit that perfect balance of richness and lightness that keeps people coming back.
One of my favorite aspects is how forgiving this dish is: I’ve tweaked proportions for texture without losing flavor. My cousin once doubled the filling for extra creaminess and used a loose-bottom tart pan — it was devoured within an hour at a backyard brunch. Small adjustments to chilling time and whipped-cream firmness let you tailor slices for personal preference.
Store in the refrigerator covered tightly for up to 4 days. Use an airtight cake carrier or wrap the pan in plastic film and then foil to prevent fridge smells. For freezing, slice before freezing for easiest portioning: place slices on a baking sheet, freeze until firm, then wrap individually in plastic and store in a zip-top bag for up to 3 months. Thaw slices in the refrigerator for 6–8 hours; avoid microwaving as it softens the texture unevenly.
If you can’t find Biscoff biscuits, graham crackers with 1/2 teaspoon ground cinnamon per cup of crumbs are a good substitute. For a lighter filling, swap half the cream cheese for mascarpone or reduce heavy cream to 1 cup — this yields denser slices. To make it less sweet, reduce powdered sugar to 1/3 cup and add a pinch of fine sea salt. For a gluten-free version, use a certified gluten-free speculoos-style cookie and check your Biscoff spread alternative for gluten-free labeling.
Serve chilled slices with a drizzle of warmed Biscoff spread and a dollop of softly whipped cream. For contrast, add a spoonful of tangy fruit compote — cherry, raspberry, or salted apricot work particularly well. Garnish with crushed biscuits and a sprinkle of Maldon salt for a pleasant counterpoint to the sweetness. This dessert pairs nicely with espresso, dessert wine, or a nutty sherry for more formal occasions.
Biscoff biscuits originated in Belgium and bring caramelized, spiced notes reminiscent of speculoos cookies. The spread version became popular globally for its nostalgic cookie flavor in a squeezable form. This dessert blends European cookie tradition with American chilled, no-bake cheesecake technique, creating a hybrid that’s both familiar and novel — a perfect example of how pantry staples travel and evolve.
In summer, keep the top simple with a citrus-macerated berry salad and mint for freshness. In fall and winter, serve with warm caramel sauce and toasted hazelnuts for a cozy, holiday feel. For celebrations, layer crushed cookies between filling layers for a textured look and add a sprinkle of toasted seeds or chopped toasted pecans for crunch.
Make the crust and filling the day before for the best texture. Assemble and chill overnight to save time the day of your event. Transport chilled in a hard-sided cake carrier on a cooler pack for potlucks. If making multiple desserts, store components separately — whipped cream and cookie crumbs — to keep everything fresh and assemble on-site for best presentation.
At the end of the day, this Biscuev no-bake cheesecake is a reliable, crowd-pleasing treat that fits many occasions. It celebrates a beloved cookie in a creamy, elegant format that’s easy enough for weeknights and impressive enough for company. I encourage you to make it your own — experiment with textures, toppings, and presentation, and then savor the happy reactions when you serve it.
Use room-temperature cream cheese to avoid lumps and shorten mixing time.
Whip the heavy cream to soft peaks to keep the filling airy while still sliceable.
Warm Biscoff spread briefly in a bowl over hot water to make it pourable for drizzling.
Press the crust firmly with the bottom of a measuring cup to ensure a compact base.
This nourishing biscuev no-bake cheesecake recipe is sure to be a staple in your kitchen. Enjoy every moist, high protein slice — it is perfect for breakfast or as a wholesome snack any time.
Chill the assembled cheesecake for at least 4 hours; overnight yields the best slices.
Store in the refrigerator for up to 4 days or freeze slices for up to 3 months.
This Biscuev No-Bake Cheesecake recipe makes perfectly juicy, tender, and flavorful steak every time! Serve with potatoes and a side salad for an unforgettable dinner in under 30 minutes.
Combine crushed Biscoff biscuits with melted butter and press into a 9-inch springform pan; chill for 10–15 minutes to set.
Beat room-temperature cream cheese until smooth, add powdered sugar, Biscoff spread and vanilla; fold in whipped cream to achieve a light, stable filling.
Pour filling over chilled crust, smooth the top, and refrigerate for at least 4 hours or overnight for best results.
Warm additional Biscoff spread until pourable and drizzle over chilled cheesecake; garnish with extra biscuits and slice with a warm knife.
Last Step: Please leave a rating and comment letting us know how you liked this recipe! This helps our business to thrive and continue providing free, high-quality recipes for you.
Leave a comment & rating below or tag
@feedcooks on social media!

Turn classic crispy treats into creepily realistic Halloween brains—soft, glossy marshmallow centers bound to Rice Krispies, shaped and painted for maximum spooky impact.

A cozy, slow-cooked blend of tender chicken, crushed tomatoes, cream, and Parmesan—this Crock Pot creamy chicken parmesan soup is weeknight comfort made effortless.

Delicate baked cod fillets finished in a bright, silky coconut-lemon cream—an easy weeknight centerpiece that feels special enough for guests.
Leave a comment & rating below or tag @feedcooks on social media!
Enjoyed this recipe? Share it with friends and family, and don't forget to leave a review!
This recipe looks amazing! Can't wait to try it.
Comments are stored locally in your browser. Server comments are displayed alongside your local comments.

Join to receive our email series which contains a round-up of some of our quick and easy family favorite recipes.
